
Create Your Dream Heart Pink Cake with Vintage-Style Charm and Buttercream Frost
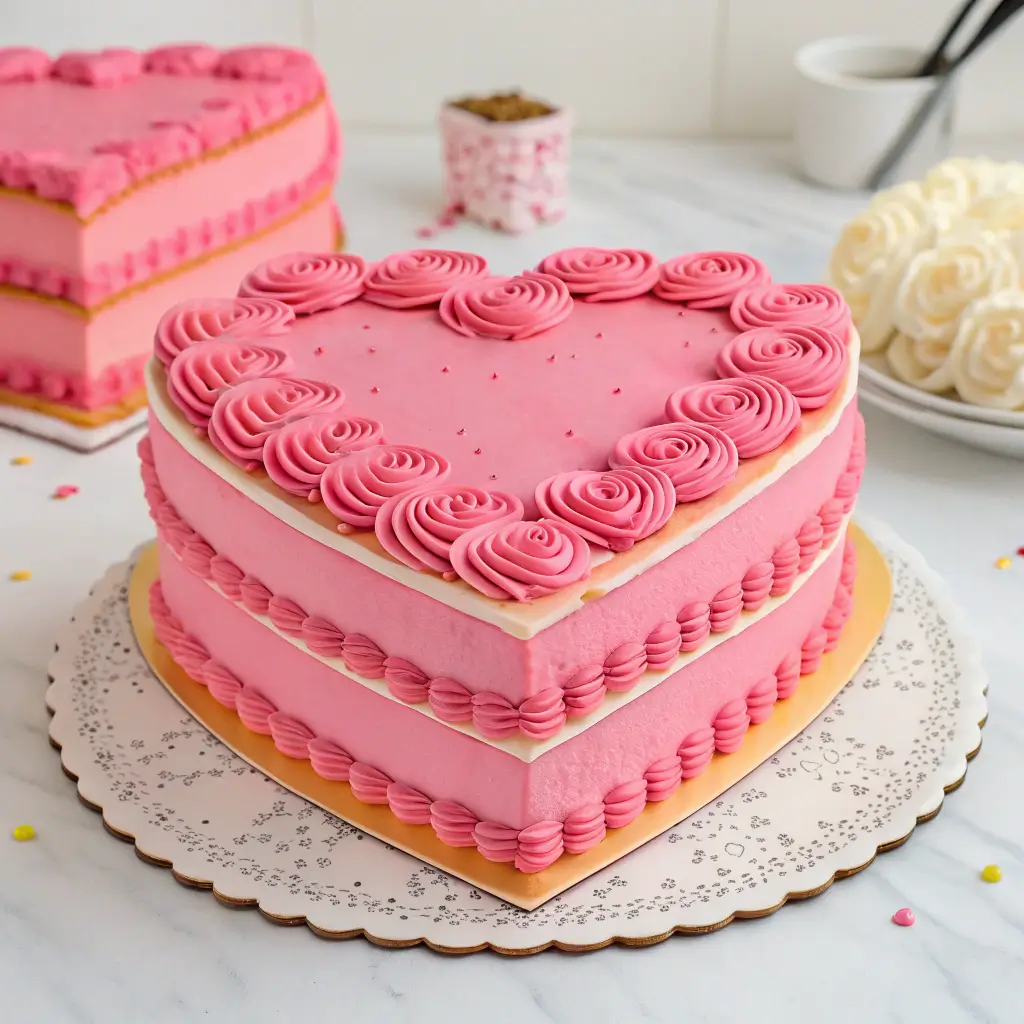
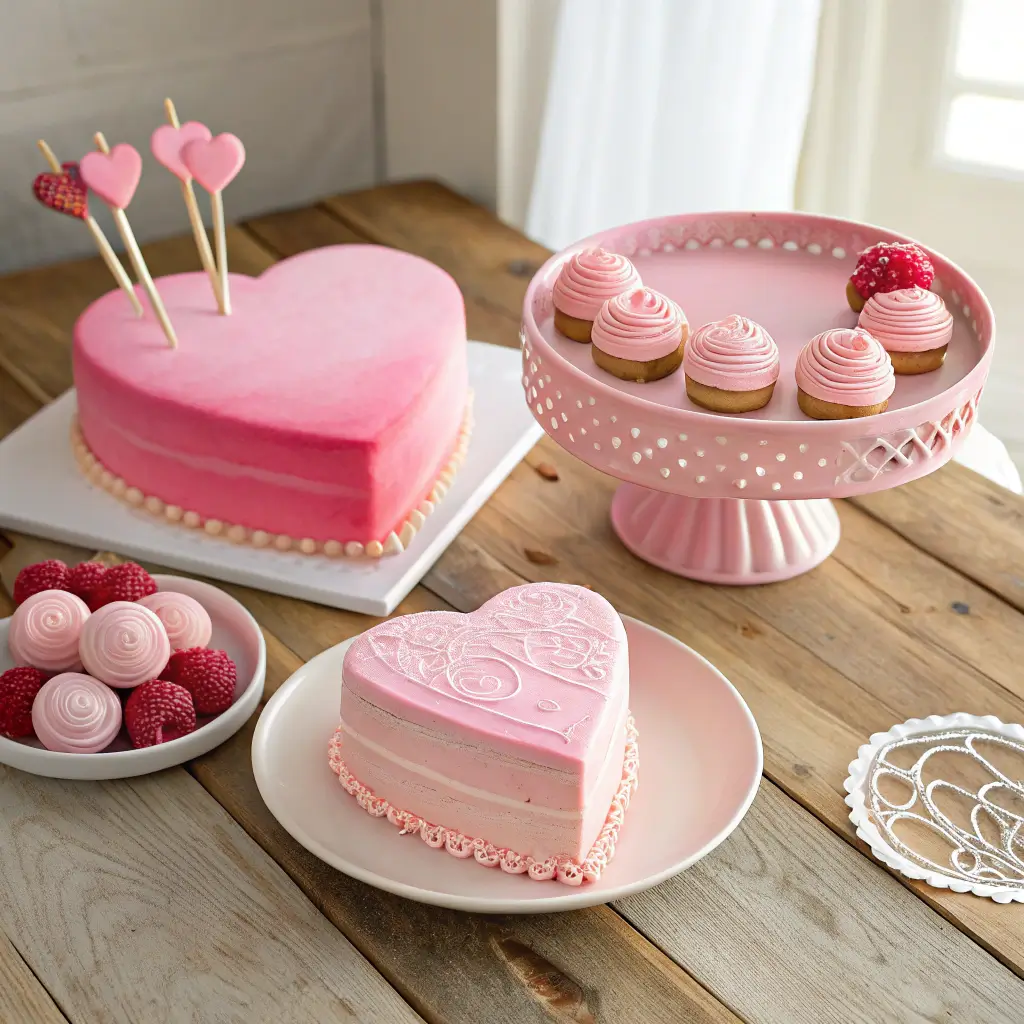
Have you ever dreamed of creating a show-stopping pink heart cake that looks straight out of a professional bakery? Well, today is your lucky day! This stunning heart pink cake combines a moist vanilla bean sponge with the dreamiest pink buttercream frosting to create a dessert that’s as delicious as it is beautiful.
Moreover, this recipe is designed to be approachable for enthusiastic beginners while still delivering that wow factor that will impress your friends and family. Furthermore, the classic flavor profile makes it perfect for Valentine’s Day celebrations, birthdays, bridal showers, or simply because you deserve something special!
In this comprehensive guide, I’ll walk you through everything you need to know about how to make heart pink cake that will be the centerpiece of any occasion. Additionally, we’ll cover the ingredients, step-by-step instructions for both the cake and frosting, decorating tips for that picture-perfect finish, and essential storage advice to keep your creation fresh.
Essential Details for Your Pink Vintage Heart Cake Design Success
Before we dive into the recipe, let’s go over some important details to help you plan your baking project:
| Recipe Information | Details |
|---|---|
| Yields | One 8-inch or 9-inch two-layer heart cake |
| Servings | 8-10 servings |
| Prep Time | 30 minutes |
| Bake Time | 30-35 minutes |
| Cooling Time | 1 hour minimum |
| Decorating Time | 30-60 minutes (depending on complexity) |
| Total Time | Approximately 3 hours (including cooling) |
| Difficulty | Medium (Beginner-Friendly with attention to detail) |
Heart-Shaped Pink Cake Recipe: Ingredients for Perfect Cake Layers
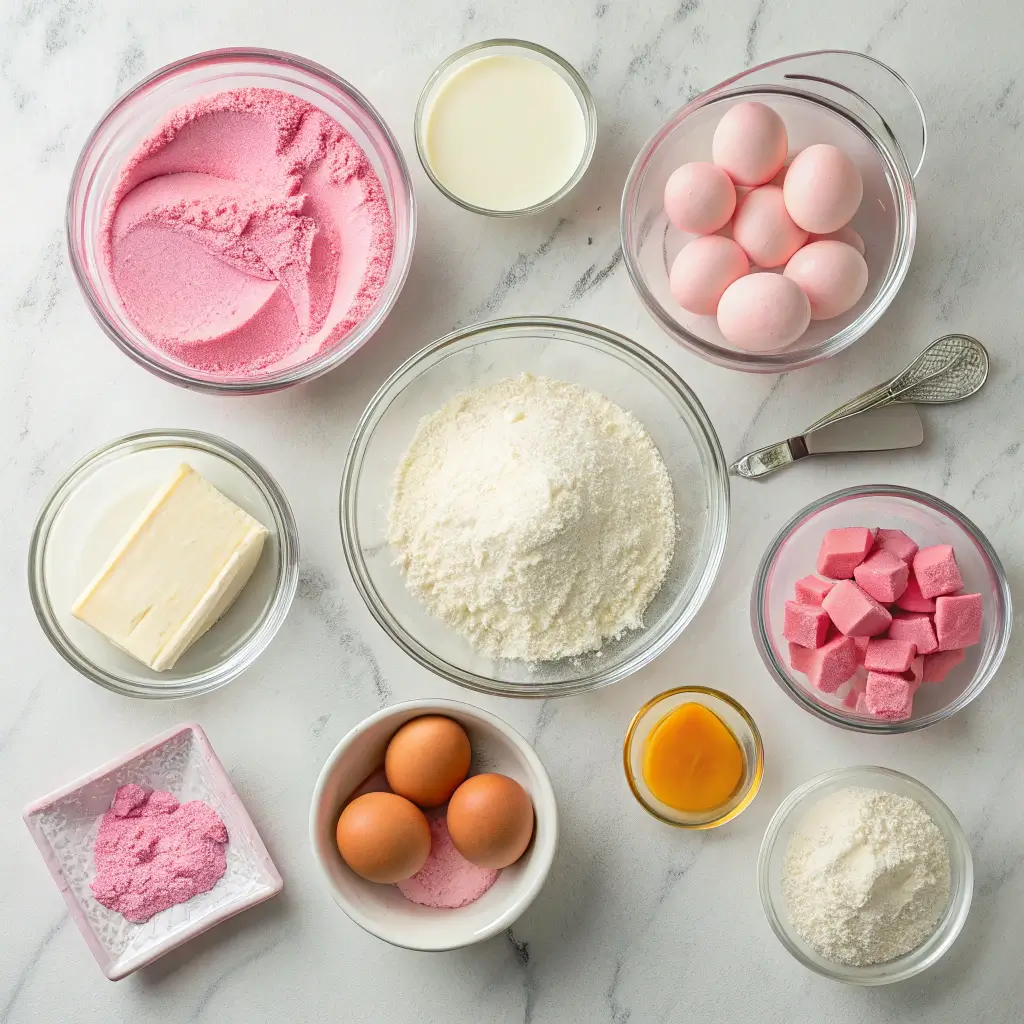
For the Vanilla Bean Heart Shape Cake Layers
- 2¾ cups (345g) all-purpose flour, sifted
- 2½ teaspoons baking powder
- ½ teaspoon salt
- 1 cup (226g) unsalted butter, softened to room temperature
- 1¾ cups (350g) granulated sugar
- 4 large eggs, at room temperature
- 2 teaspoons pure vanilla extract (or vanilla bean paste for stronger flavor)
- 1 cup (240ml) whole milk, at room temperature
For the Pink Buttercream Frosting for Heart Shaped Pink Cake
- 1½ cups (340g) unsalted butter, softened to room temperature
- 5-6 cups (600-720g) powdered sugar, sifted
- 2 teaspoons pure vanilla extract
- 3-4 tablespoons heavy cream or milk (adjust for consistency)
- Pinch of salt (to balance sweetness)
- Pink gel food coloring (recommended for vibrant color without thinning frosting)
Essential Equipment for Creating the Perfect Heart Shape Cake with Pink Frost
To ensure your baking journey goes smoothly, gather these tools before starting:
- Heart-shaped cake pan(s) (8-inch or 9-inch)
- Electric mixer (Stand mixer with paddle attachment or hand mixer)
- Large and medium mixing bowls
- Measuring cups and spoons
- Rubber spatula and whisk
- Parchment paper
- Wire cooling rack
- Offset spatula (small and large, for frosting)
- Cake leveler or serrated knife
- Piping bag and tips (Star tip like Wilton 1M for borders, Round tip for dots/writing)
How to Make Heart Pink Cake: Step-by-Step Birthday Cake Instructions
Preparation: Setting Up for Heart-Shaped Cake Baking Success
- Preheat your oven to 350°F (175°C). This temperature ensures your cake bakes evenly with a tender crumb.
- Thoroughly grease and flour your heart-shaped cake pan(s). Additionally, line the bottom with parchment paper cut to match the heart shape for easy removal.
Creating Your Pink Velvet Cake Batter with Vintage Charm
- In a medium bowl, whisk together the sifted flour, baking powder, and salt. Set aside.
- Using an electric mixer, cream the softened butter and sugar in a large bowl until light and fluffy, about 3-5 minutes. This extended mixing creates tiny air pockets that help your cake layers rise.
- Add the eggs one at a time, beating well after each addition. Then, beat in the vanilla extract until fully incorporated.
- Alternately add the dry ingredients and milk to the wet ingredients, beginning and ending with dry (⅓ dry, ½ milk, ⅓ dry, ½ milk, ⅓ dry). Mix on low speed until just combined – however, be careful not to overmix as this can result in a tough cake.
- Pour the batter evenly into your prepared heart-shaped pan(s). Furthermore, use your spatula to smooth the top(s) for even baking.
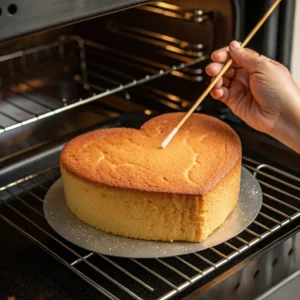
Baking Your Heart-Shaped Cake Layers for Pink Cake Design
- Bake for 30-35 minutes, or until a wooden skewer inserted into the center comes out clean. The cake should spring back lightly when touched.
- Let the cake(s) cool in the pan(s) on a wire rack for 10-15 minutes. Subsequently, invert onto the rack to cool completely before frosting.
Making the Perfect Buttercream Frost for Pink Heart Cake
- In a large bowl, beat the softened butter with an electric mixer until smooth and creamy, about 2-3 minutes.
- Gradually add the sifted powdered sugar, mixing on low speed until incorporated. Then, increase speed and beat until light and fluffy (3-5 minutes).
- Beat in the vanilla extract and salt to enhance the flavor profile.
- Add heavy cream or milk, one tablespoon at a time, until you reach your desired consistency. The perfect buttercream should be smooth and spreadable but still hold its shape.
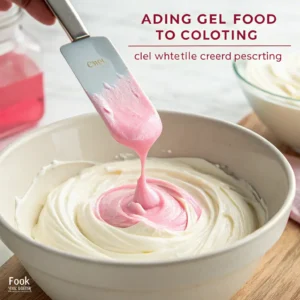
- Add pink gel food coloring, a tiny drop at a time, mixing well after each addition until you achieve your desired shade of pink. For a vintage heart cake look, aim for a soft, pastel pink, while a brighter pink creates a more contemporary appearance.
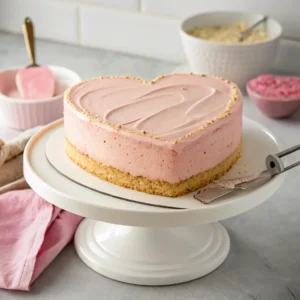
Creating the Perfect Crumb Coat for Your Heart Shaped Pink Creation
- Level the cooled cake layers using a cake leveler or serrated knife if you’ve baked two separate layers.
- Place the bottom layer on a serving plate or cake stand. For stability, you can add a small dollop of frosting underneath.
- Apply a generous layer of pink buttercream on top of the bottom layer, spreading evenly with an offset spatula.
- Place the second layer on top (if applicable), making sure it’s properly aligned with the bottom layer.
- Apply a thin “crumb coat” of frosting over the entire cake. Consequently, chill for 15-30 minutes to set this base layer.
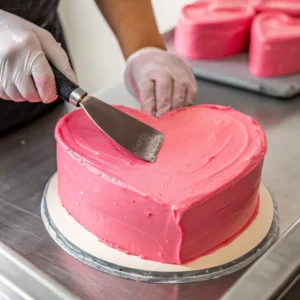
- Apply the final, thicker layer of pink buttercream, smoothing with an offset spatula. For a smoother finish, dip your spatula in hot water and wipe dry between strokes.
Pink Vintage Heart Cake Decoration: Pipe Your Way to Vintage-Style Success
Now that your cake is frosted, let’s explore some beautiful decoration options to elevate your heart shaped pink creation:
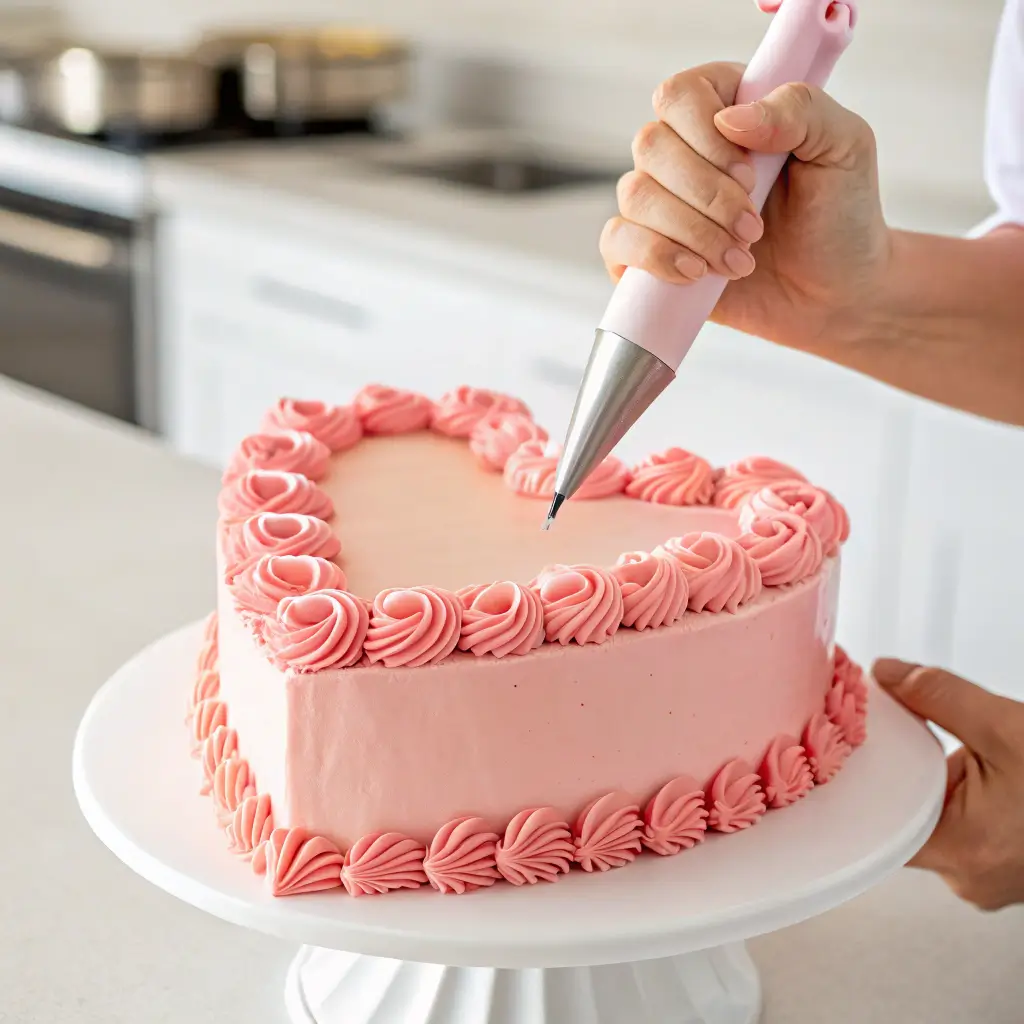
Classic Buttercream Pipe Techniques for Vintage Cake Charm
- Fill a piping bag fitted with a star tip (like Wilton 1M) with some of your pink buttercream.
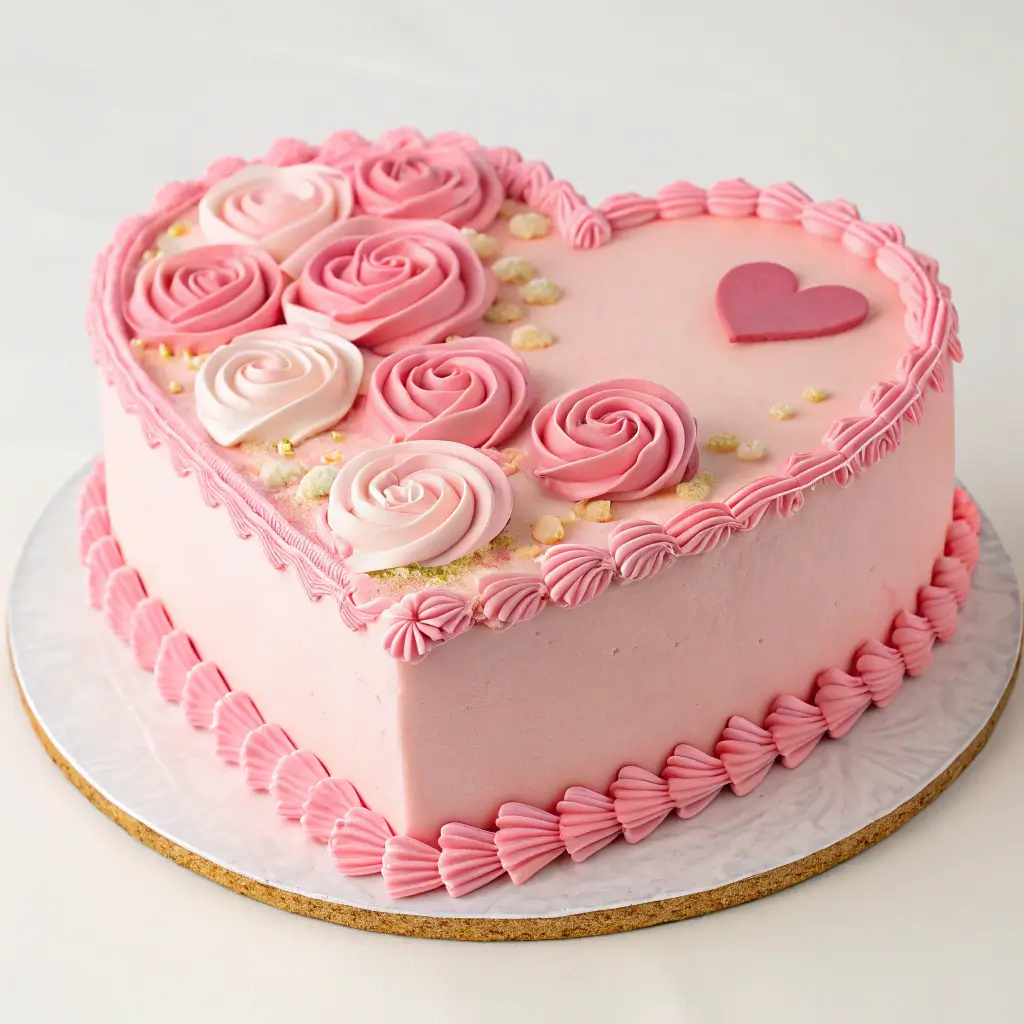
- Pipe elegant swirls or rosettes around the top edge of your cake. Additionally, add a decorative border around the bottom edge to complete the look.
- For added dimension, you can pipe small dots or hearts across the cake’s surface using a round tip.
Elegant Bow and Pearl Sprinkles for Your Coquette Pink Heart Cake
Consider these beautiful additions to enhance your cake design:
- Edible pearl sprinkles placed strategically around the piped decorations
- A delicate bow made from tinted fondant or buttercream at the top of the cake
- Light pink or white sprinkles for a touch of whimsy
- For special occasions like birthdays, add a simple “Happy Birthday” message with contrasting colored buttercream
Baker’s Tips for Heart Pink Cake and Vintage-Style Decoration Success
- Room Temperature Ingredients Are Essential: This creates a smoother batter and results in a more uniform cake texture. Therefore, set your eggs, butter, and milk out at least an hour before baking.
- Measure Flour Correctly: Use the spoon and level method—spoon flour into your measuring cup and level with a knife—to avoid a dense cake.
- Don’t Overmix the Batter: Mix just until ingredients are incorporated to ensure your cake layers remain light and tender.
- The Crumb Coat Is Your Friend: This thin layer of frosting seals in crumbs before the final coat, consequently creating a smoother finish.
- Achieving the Perfect Pink: Start with a tiny amount of gel color and gradually build to your desired shade. In addition, remember that colors often darken slightly as they set.
- For Ultra-Smooth Frosting: After applying your final coat, lightly run a bench scraper or offset spatula dipped in hot water (and wiped dry) around the cake’s sides.
Custom Cake Variations: From Girly Pink Cake to Bridal Shower Masterpiece
Flavor Customizations for Your Heart Shaped Pink Cake Layers
- Add ½ teaspoon of almond extract to the cake batter for a subtle flavor enhancement
- Replace vanilla frosting with cream cheese frosting for a tangy twist
- Create a pink velvet cake by adding 1-2 tablespoons of cocoa powder and a bit more pink coloring
- Add lemon zest to the batter for a bright, citrusy note
Decoration Variations for Different Cake Plate Presentations
- Create an elaborate vintage heart cake with intricate piping techniques and fondant accents
- Add a chocolate ganache drip over the top of the cake for dramatic effect
- For a bridal shower cake, incorporate edible flowers or a coquette aesthetic with pearls and bows
- Transform your creation into cake pops for a fun, portable version of this classic recipe
From Love Cake to Birthday Cake: Celebrations for Every Occasion
- Valentine’s Day: Add conversation heart candies as edible decorations
- Birthday celebration: Create a tiered heart pink cake with candles and a “Happy Birthday” message
- Wedding or bridal shower: Add cherry red accents to a pastel pink base for elegant contrast
- Baby shower: Create mini cupcake versions with the same heart pink cake recipe
How to Store Your Pink Heart Cake on the Perfect Cake Plate
- Room Temperature: The frosted cake can be stored covered at room temperature for up to 2 days, away from direct sunlight or heat.
- Refrigeration: For longer storage, keep the cake in the refrigerator for up to 5 days. However, be aware that refrigeration can slightly dry out the cake layers.
- Freezing Option: This cake freezes well! Wrap individual slices or the entire cake (without decorations) in plastic wrap, then aluminum foil, and freeze for up to 2 months. Thaw overnight in the refrigerator before serving.
Mastering the Cake Layers of Your Heart-Shaped Pink Cake with Vintage Charm
Creating beautiful, even cake layers is crucial for a professional-looking heart-shaped cake. Here are some additional tips for perfecting your cake layers:
- Use cake strips soaked in water and wrapped around your pans to ensure even baking
- If making a layer cake, weigh your batter to ensure each pan gets the exact same amount
- When assembling layers, use a cake turntable if available for easier frosting application
- For a special birthday cake surprise, consider adding sprinkles to the batter to create a funfetti effect inside
Remember, the secret to a moist, delicious cake lies in not overbaking. Check your cake a few minutes before the suggested baking time ends, as oven temperatures can vary.
From Cake Pops to Shower Cake: More Pink Heart-Shaped Creations to Try
If you love this pink heart cake recipe, you might want to try these creative variations:
- Mini heart cake pops coated in pink candy melts
- Layered pink heart cake with alternating layers of filling
- Pink heart cupcakes with the same delicious buttercream frost
- A two-tier heart pink cake for larger celebrations
The versatility of this recipe means you can adapt it for any special occasion, from an intimate valentine’s dinner to a large bridal shower celebration.
Explore More Cake Decorating Inspiration
Looking for more cake ideas? Check out these related resources:
- Ultimate Guide to Birthday Cake Designs
- 10 Creative Heart Cake Decorating Techniques
- Best Buttercream Frosting Recipes for Any Occasion
If you’re just starting your baking journey, you might want to try our Pink Heart Cake: Easy Recipe with Perfect Buttercream before attempting more complex designs.
Frequently Asked Questions About Heart Pink Cakes
Does Dairy Queen do heart-shaped cakes?
Yes, Dairy Queen typically offers heart-shaped cakes, especially around Valentine’s Day. However, making your own heart pink cake at home allows for customization of flavors, colors, and decorations that simply can’t be matched by store-bought options.
How to get a heart-shaped cake?
The easiest way to create a heart-shaped cake is to use a dedicated heart-shaped cake pan. Alternatively, you can make a square cake and a round cake, cut the round cake in half, and position the halves on two adjacent sides of the square to form a heart shape.
What does the pink cake symbolize?
A pink cake often symbolizes love, tenderness, and affection. Therefore, it’s particularly popular for romantic occasions, Valentine’s Day celebrations, and events that celebrate femininity or girlhood like baby showers or bridal events.
How many will an 8 inch heart cake feed?
An 8-inch heart cake typically serves 8-10 people comfortably. For larger gatherings, consider making multiple cakes or scaling up to a 10-inch heart pan which can serve 12-16 people.
What is the spiritual meaning of the cake?
In many cultures, cake symbolizes celebration, abundance, and sharing joy with others. Furthermore, the act of breaking bread (or cake) together represents community and connection, making it a meaningful centerpiece for important life events.
What is the witches cake?
The “witches cake” refers to a historical test used during the Salem witch trials, unrelated to modern baking. In contemporary baking, it might refer to themed Halloween cakes designed to look like witches’ hats or cauldrons.
What does a wedding cake symbolize in the Bible?
In Biblical contexts, sharing bread or cake represents communion and covenant. For wedding celebrations specifically, the shared cake symbolizes the couple’s first act of giving and receiving nourishment together, representing their commitment to care for one another.
What is the meaning of rose cake?
A rose cake typically refers to a cake decorated with buttercream roses or with rose flavor infused into the cake or frosting. Roses symbolize love and beauty, making rose-decorated cakes popular for romantic occasions and celebrations of feminine milestones.
What does cake mean in slang?
In modern slang, “cake” can refer to money, wealth, or an attractive figure (particularly the buttocks). However, in baking contexts, we’re just talking about the delicious dessert that brings people together!
What is a pink princess cake?
A pink princess cake typically refers to a layered dessert with a dome of whipped cream covered in pink marzipan. It’s a variation of the traditional Swedish Princess Cake (Prinsesstårta), which is usually covered in green marzipan with a pink marzipan rose on top.
Conclusion: Enjoy Your Beautiful Heart Pink Cake Creation!
Creating a stunning pink heart cake is both an art and a science, but with this detailed recipe and the tips provided, you’re well-equipped to make something truly special. The combination of moist vanilla cake layers and smooth pink buttercream creates a dessert that’s not only visually impressive but also deliciously satisfying.
Don’t forget to share your creation with us by using the hashtag #YumJoyHeartCake on social media! We’d love to see your unique take on this classic recipe.
Happy baking!

Perfect Pink Heart Cake
Equipment
- 1 Heart-shaped cake pan (8 or 9-inch)
- 1 Electric mixer Stand or hand mixer
- 2 Mixing bowls Large and medium
- 1 Measuring Cups and Spoons
- 1 Rubber spatula
- 1 Whisk
- 1 Parchment Paper
- 1 Wire cooling rack
- 2 Offset spatulas Small and large, for frosting
- 1 Cake leveler or serrated knife
- 1 Piping bag with tips Optional, for decoration
Ingredients
For the Vanilla Bean Cake Layers
- 2¾ cups All-purpose flour Sifted
- 2½ teaspoons Baking powder
- ½ teaspoon Salt
- 1 cup Unsalted butter Softened to room temperature 226g
- 1¾ cups Granulated sugar 350g
- 4 Large eggs At room temperature
- 2 teaspoons Pure vanilla extract Or vanilla bean paste for stronger flavor
- 1 cup Whole milk At room temperature 240ml
For the Pink Buttercream Frosting
- 1½ cups Unsalted butter Softened to room temperature 340g
- 5-6 cups Powdered sugar Sifted 600-720g
- 2 teaspoons Pure vanilla extract
- 3-4 tablespoons Heavy cream or milk Adjust for consistency
- 1 pinch Salt To balance sweetness
- Pink gel food coloring As needed for desired shade
Instructions
- Preheat your oven to 350°F (175°C). Grease and flour your heart-shaped cake pan(s), then line the bottom with parchment paper cut to match the heart shape.
- In a medium bowl, whisk together the sifted flour, baking powder, and salt. Set aside.2¾ cups All-purpose flour Sifted, 2½ teaspoons Baking powder, ½ teaspoon Salt
- Using an electric mixer, cream the softened butter and sugar until light and fluffy, about 3-5 minutes.1 cup Unsalted butter Softened to room temperature, 1¾ cups Granulated sugar 350g
- Add the eggs one at a time, beating well after each addition. Then beat in the vanilla extract until fully incorporated.4 Large eggs At room temperature, 2 teaspoons Pure vanilla extract Or vanilla bean paste for stronger flavor
- Alternately add the dry ingredients and milk to the wet ingredients, beginning and ending with dry (⅓ dry, ½ milk, ⅓ dry, ½ milk, ⅓ dry). Mix on low speed until just combined, being careful not to overmix.1 cup Whole milk At room temperature
- Pour the batter evenly into your prepared heart-shaped pan(s). Use your spatula to smooth the top(s) for even baking.
- Bake for 30-35 minutes, or until a wooden skewer inserted into the center comes out clean. The cake should spring back lightly when touched.
- Let the cake(s) cool in the pan(s) on a wire rack for 10-15 minutes. Then invert onto the rack to cool completely before frosting.
- For the frosting, beat the softened butter with an electric mixer until smooth and creamy, about 2-3 minutes.1½ cups Unsalted butter Softened to room temperature
- Gradually add the sifted powdered sugar, mixing on low speed until incorporated. Then increase speed and beat until light and fluffy (3-5 minutes).5-6 cups Powdered sugar Sifted
- Beat in the vanilla extract and salt to enhance the flavor profile.2 teaspoons Pure vanilla extract, 1 pinch Salt To balance sweetness
- Add heavy cream or milk, one tablespoon at a time, until you reach your desired consistency. The perfect buttercream should be smooth and spreadable but still hold its shape.3-4 tablespoons Heavy cream or milk Adjust for consistency
- Add pink gel food coloring, a tiny drop at a time, mixing well after each addition until you achieve your desired shade of pink.Pink gel food coloring As needed for desired shade
- If making a layer cake, level the cooled cake layers using a cake leveler or serrated knife.
- Place the bottom layer on a serving plate or cake stand. For stability, add a small dollop of frosting underneath.
- Apply a generous layer of pink buttercream on top of the bottom layer, spreading evenly with an offset spatula.
- Place the second layer on top (if applicable), making sure it’s properly aligned with the bottom layer.
- Apply a thin “crumb coat” of frosting over the entire cake. Chill for 15-30 minutes to set this base layer.
- Apply the final, thicker layer of pink buttercream, smoothing with an offset spatula. For a smoother finish, dip your spatula in hot water and wipe dry between strokes.
- Decorate as desired with piped buttercream designs, sprinkles, or other embellishments.

Video
Notes
- Room temperature ingredients are essential for a smoother batter and better cake texture.
- Measure flour correctly using the spoon and level method to avoid a dense cake.
- Don’t overmix the batter to ensure your cake layers remain light and tender.
- Start with a tiny amount of gel color and gradually build to your desired shade of pink.
- The frosted cake can be stored covered at room temperature for up to 2 days or refrigerated for up to 5 days.
- For a gluten-free option, substitute a high-quality cup-for-cup gluten-free flour blend.
- For a special birthday surprise, consider adding sprinkles to the batter to create a funfetti effect inside.