
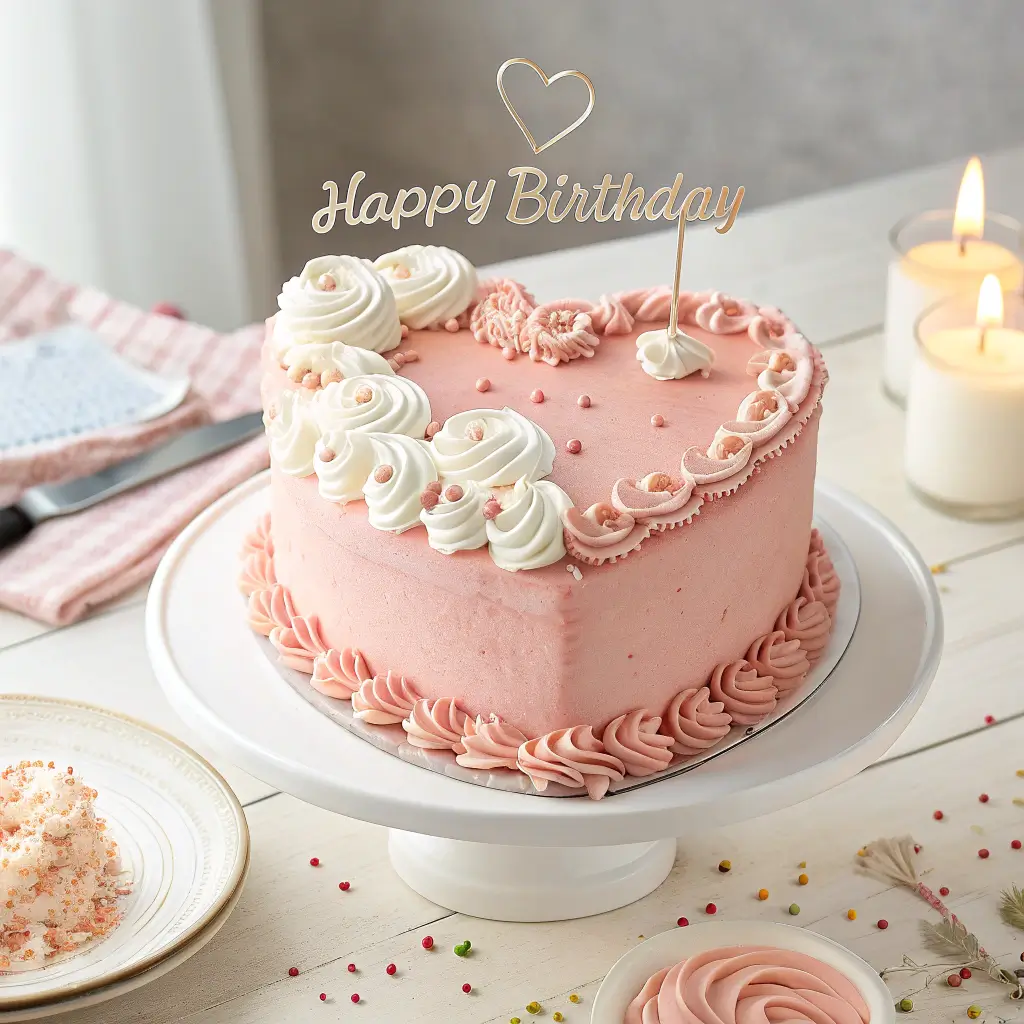
Perfect Classic Vanilla Bean birthday cake heart shape Recipe
There’s nothing quite as special as creating a stunning centerpiece for a birthday celebration that captures both the eyes and hearts of your guests. A birthday cake heart shape birthday cake elevates any celebration from ordinary to extraordinary, adding that personal touch of love and care. This classic vanilla bean birthday cake heart shape recipe delivers everything you could want – a moist, tender crumb with a rich vanilla flavor that’s perfectly sweet without being overwhelming. Whether you’re a beginner baker looking to try something special or an experienced baker wanting a reliable recipe, this heart shape cake tutorial guides you through creating a beautiful and delicious cake that’s guaranteed to impress.
Essential Information for Your birthday cake heart shape Journey
- Yield: One 8-inch heart cake (Serves 8-10 people)
- Prep Time: 25 minutes
- Cook Time: 30-35 minutes
- Total Time: Approximately 1 hour (excluding cooling and decorating time)
- Difficulty Level: Beginner-Intermediate
Complete Ingredient List for the Perfect birthday cake heart shape
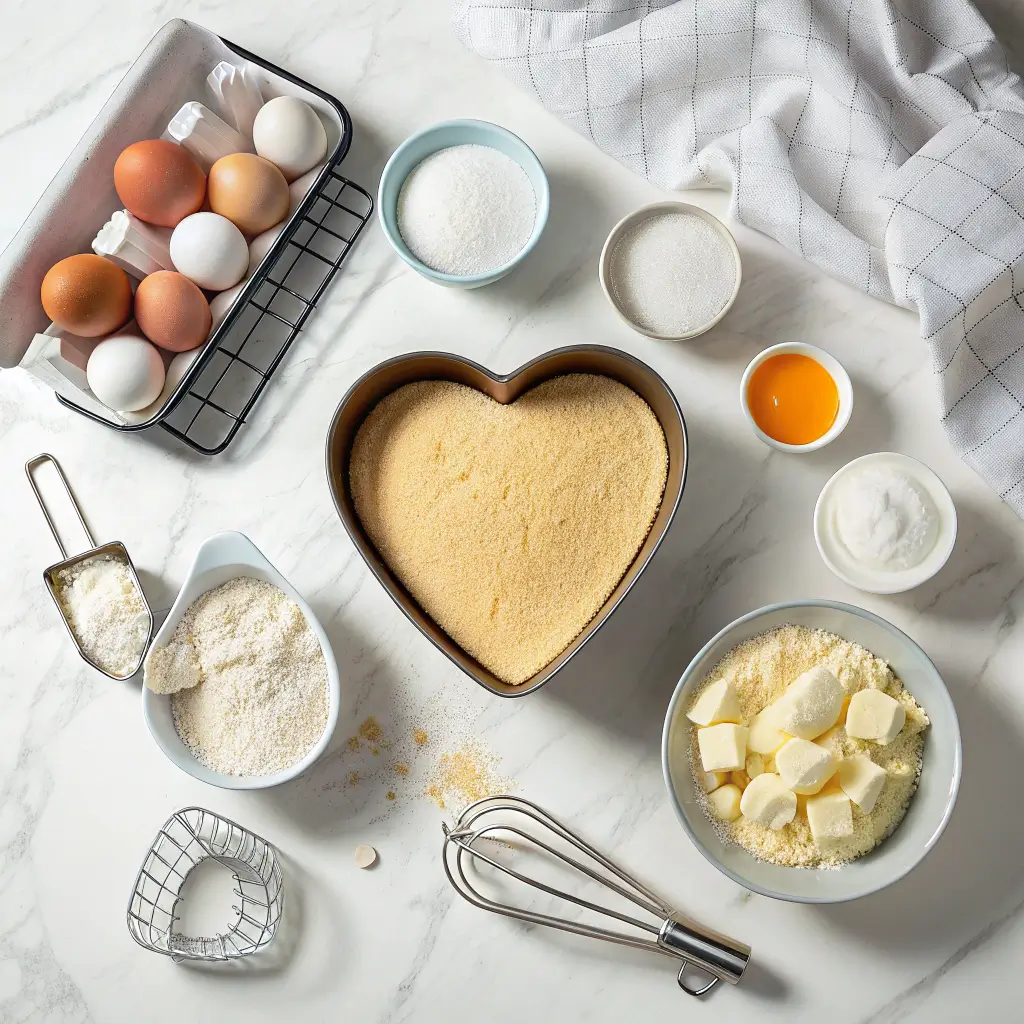
For the Vanilla Bean Cake:
- 2¾ cups (345g) all-purpose flour, sifted
- 1¾ cups (350g) granulated sugar
- 2½ teaspoons baking powder
- ¾ teaspoon salt
- 1 cup (226g) unsalted butter, room temperature
- 4 large eggs, room temperature
- 1 cup (240ml) whole milk, room temperature
- 2 teaspoons pure vanilla extract
- 1 vanilla bean pod, scraped (or 1 tablespoon vanilla bean paste) – optional but recommended for enhanced flavor
For Classic Vanilla Buttercream Frosting:
- 1½ cups (340g) unsalted butter, room temperature
- 5-6 cups (600-720g) powdered sugar, sifted
- 3-4 tablespoons heavy cream or milk
- 2 teaspoons vanilla extract
- ¼ teaspoon salt
- Optional: Food coloring (pink or red for a festive heart theme)
Room temperature ingredients are absolutely crucial for this recipe because they create the perfect emulsion that leads to a velvety cake texture. Cold ingredients don’t blend properly and can result in a dense, uneven cake. When measuring your flour, use the spoon and level method or, ideally, weigh it with a digital scale for precision.
Essential Equipment for Creating Your birthday cake heart shape
- 8-inch heart shaped pan (or one 8-inch round AND one 8-inch square pan for the cutting method)
- Electric mixer (stand or handheld)
- Large and medium mixing bowls
- Measuring cups and spoons (digital scale highly recommended)
- Silicone spatula
- Wire cooling rack
- Parchment paper
- Offset spatula for frosting
- Piping bag and tips (if decorating)
- Cake board (optional but helpful)
- Sifter (optional but recommended)
Having the right tools makes cake baking significantly easier, especially when working with specialty shapes like a heart shaped cake.
Comprehensive Step-by-Step Instructions for the Perfect birthday cake heart shape
Preparation and Mixing the Cake Batter
- Preheat your oven to 350°F (175°C). Position the rack in the center of the oven for even heat distribution.
- Prepare your birthday cake heart shape pan by generously greasing the bottom and sides with butter or baking spray. Line the bottom with parchment paper, then dust the sides with flour, tapping out excess. This triple protection ensures your cake releases perfectly.
- Combine dry ingredients in a medium bowl by whisking together the flour, baking powder, and salt. Whisking not only combines the ingredients but also aerates the flour, contributing to a lighter cake.
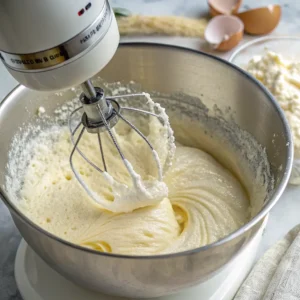
- Begin the creaming process by beating the room temperature butter in a large bowl using your electric mixer on medium speed until it becomes smooth and creamy (about 1 minute).
- Gradually add the sugar to the butter, about ¼ cup at a time, beating continuously on medium-high speed for 3-4 minutes until the mixture becomes notably pale and fluffy. This step is crucial as it incorporates air into the batter, creating the foundation for a light, tender crumb. Remember to scrape down the sides of the bowl periodically.
- If using vanilla bean, add the freshly scraped seeds to the butter-sugar mixture now and beat briefly to incorporate. The tiny black flecks will distribute throughout your cake, adding visual appeal and intensified flavor.
Adding Eggs and Combining Ingredients
- Add eggs one at a time, beating well after each addition until just combined. Adding them individually helps create a stable emulsion that prevents the batter from separating. Scrape down the bowl after each egg.
- Incorporate the vanilla extract by beating it in until just combined.
- Begin the alternating addition process by reducing your mixer speed to low. Add approximately one-third of the dry ingredient mixture and mix until just combined.
- Add half the milk and mix until just combined.
- Continue alternating by adding another third of the dry ingredients, the remaining milk, and finally the last portion of dry ingredients. Mix only until no large streaks of flour remain visible. At this point, it’s crucial not to overmix, as this develops gluten that will make your cake tough rather than tender.
Baking Your birthday cake heart shape
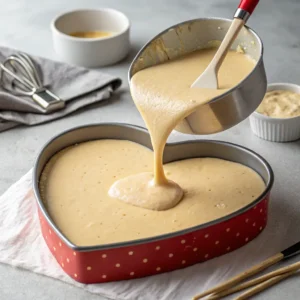
- Pour the batter evenly into your prepared birthday cake heart shape pan. If using the round and square pans for cutting method, divide the batter equally between them. Use your spatula to smooth the top gently.
- Bake for 30-35 minutes, or until a wooden skewer inserted into the center comes out clean or with just a few moist crumbs attached. Another test is to gently press the center of the cake—it should spring back rather than leave an indentation.
Cooling Process for the Best Results
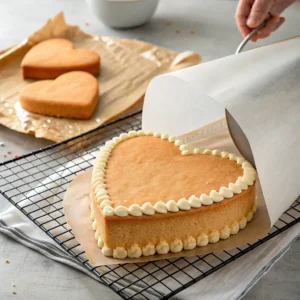
- Allow the cake to cool in the pan(s) placed on a wire rack for 10-15 minutes. This cooling period is essential as it allows the cake to set and contract slightly from the pan edges.
- Carefully invert the cake onto the wire rack, remove the pan(s), peel off the parchment paper, and allow it to cool completely before frosting or shaping. Complete cooling prevents your frosting from melting when applied (this typically takes 1-2 hours).
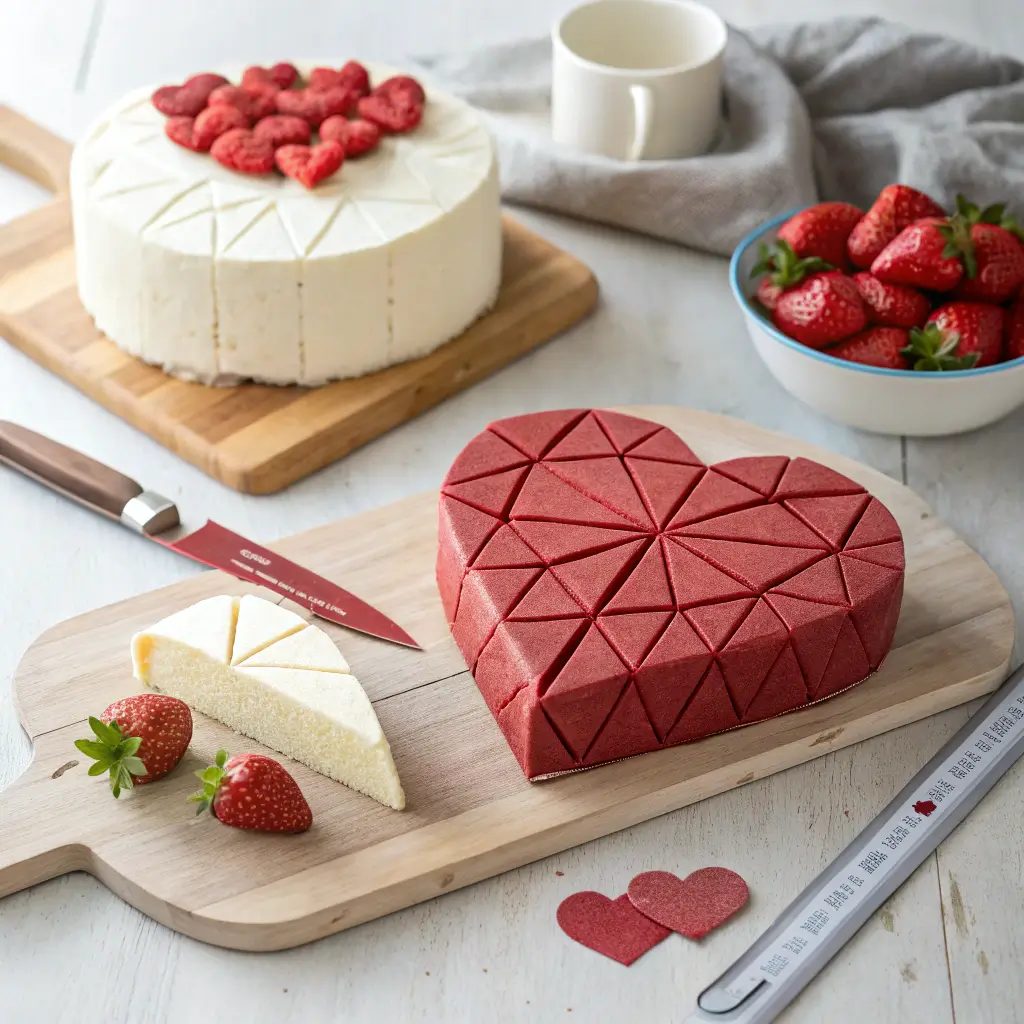
Creating a birthday cake heart shape Without a Special Pan
If you don’t have a heart shaped pan, you can easily create one using standard pans:
- Bake one 8-inch round cake and one 8-inch square cake following the recipe above.
- Once completely cooled, place the square cake on your work surface positioned like a diamond (with points at top, bottom, and sides).
- Cut the round cake in half to create two semicircles.
- Position the semicircles against two adjacent sides of the diamond-positioned square, with the flat edges of the semicircles against the square to form the top curves of the heart.
- Trim any uneven edges if necessary to create a smooth heart shape.
- Crumb coat the cake as described in the frosting section below before applying the final layer of frosting.
This method makes abirthday cake heart shape that’s perfect for any occasion without requiring specialty bakeware.
Expert Tips for the Most Successful birthday cake heart shape
- Measure accurately: The difference between a good cake and a great cake often comes down to precision. Ideally, use a digital scale for measuring ingredients.
- Room temperature IS key: Allow your refrigerated ingredients to sit at room temperature for at least 1 hour before baking. Cold ingredients don’t emulsify properly.
- Don’t rush the creaming process: The butter-sugar mixture should be noticeably lighter in both color and texture before proceeding.
- Know your oven: Most home ovens have hot spots or temperature inaccuracies. An oven thermometer can help ensure you’re baking at the correct temperature.
- Cool completely: Even slightly warm cakes will cause frosting to melt, making decorating nearly impossible.
Troubleshooting Common birthday cake heart shape Issues
| Problem | Likely Cause | Solution |
|---|---|---|
| Cake sank in the middle | Oven door opened too early, underbaked, or too much leavening | Wait until at least 25 minutes before checking cake; measure leavening agents carefully |
| Cake too dry | Overbaked or too much flour | Watch baking time carefully; measure flour correctly |
| Cake domed too much | Oven too hot | Use cake strips around the pan or lower oven temperature by 25°F |
| Cake stuck to pan | Inadequate pan preparation | Triple-protect with grease, parchment, and flour |
| Uneven cake layers | Uneven oven heat or batter distribution | Rotate pans halfway through baking; use a spatula to distribute batter evenly |
Delicious Variations for Your birthday cake heart shape Recipe
- Citrus Twist: Add 1 tablespoon of lemon or orange zest when creaming the butter and sugar for a bright, fresh flavor.
- Almond Flavor: Substitute half the vanilla extract with almond extract for a sophisticated flavor profile that pairs beautifully with the heart shape.
- Buttermilk Substitution: Replace the whole milk with buttermilk for a slightly tangy flavor and even more tender crumb. If using buttermilk, add ¼ teaspoon of baking soda to the dry ingredients.
- Funfetti Heart Cake: Gently fold in ½ cup of colorful sprinkles at the very end of mixing for a festive birthday cake that’s sure to delight.
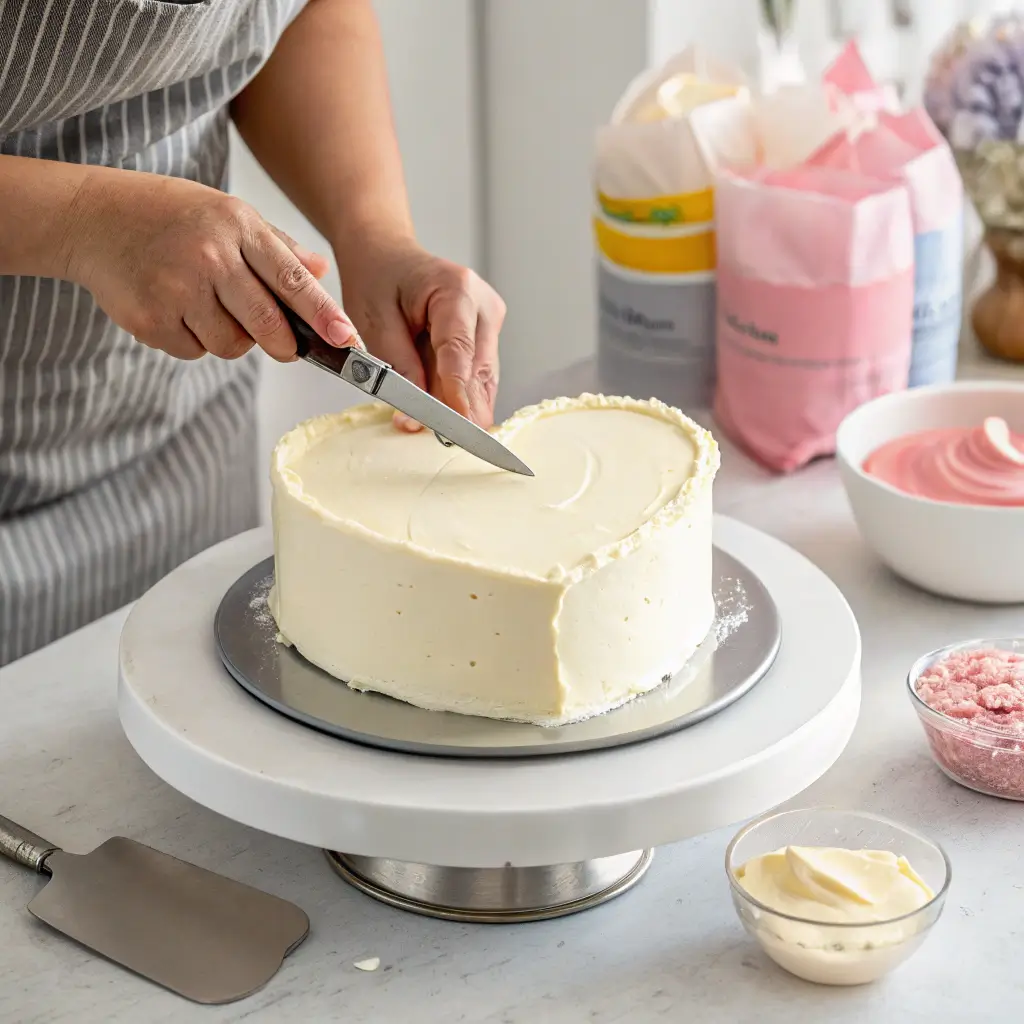
How to Beautifully Frost and Decorate Your birthday cake heart shape
Classic Buttercream Frosting Method
- Prepare the frosting by beating room temperature butter until creamy and pale (about 3 minutes).
- Gradually add sifted powdered sugar, one cup at a time, beating well after each addition.
- Add vanilla extract, salt, and cream gradually until you reach your desired consistency.
- If using food coloring, add it now and mix until evenly distributed.
- For a layer cake, cut your cooled heart cake horizontally into two or three layers using a long serrated knife.
- Place the first cake layer on your cake board or serving plate.
- Apply a layer of buttercream to the top of the first cake layer, spreading it evenly with an offset spatula.
- Add the next cake layer and repeat until all layers are stacked.
- Apply a thin crumb coat of frosting over the entire cake and chill the cake for 15-30 minutes to set.
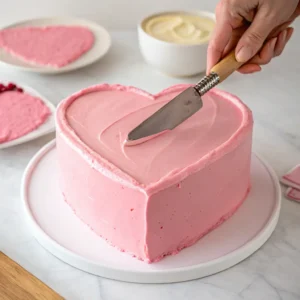
- Apply the final layer of frosting, creating your desired finish (smooth, textured, or piped designs).
- Decorate the top of the heart with additional piping, sprinkles, or fresh flowers for a stunning presentation.
Proper Storage Instructions for Your birthday cake heart shape
- Unfrosted cake layers can be stored well-wrapped at room temperature for up to 2 days, or frozen for up to 2 months.
- Frosted cakes should be stored in an airtight container. They can remain at room temperature for 1-2 days if the frosting doesn’t contain perishable ingredients. If using cream cheese frosting or if in a warm environment, refrigerate for 3-4 days.
- When refrigerating, allow the cake to come to room temperature for 30 minutes before serving for the best flavor and texture.
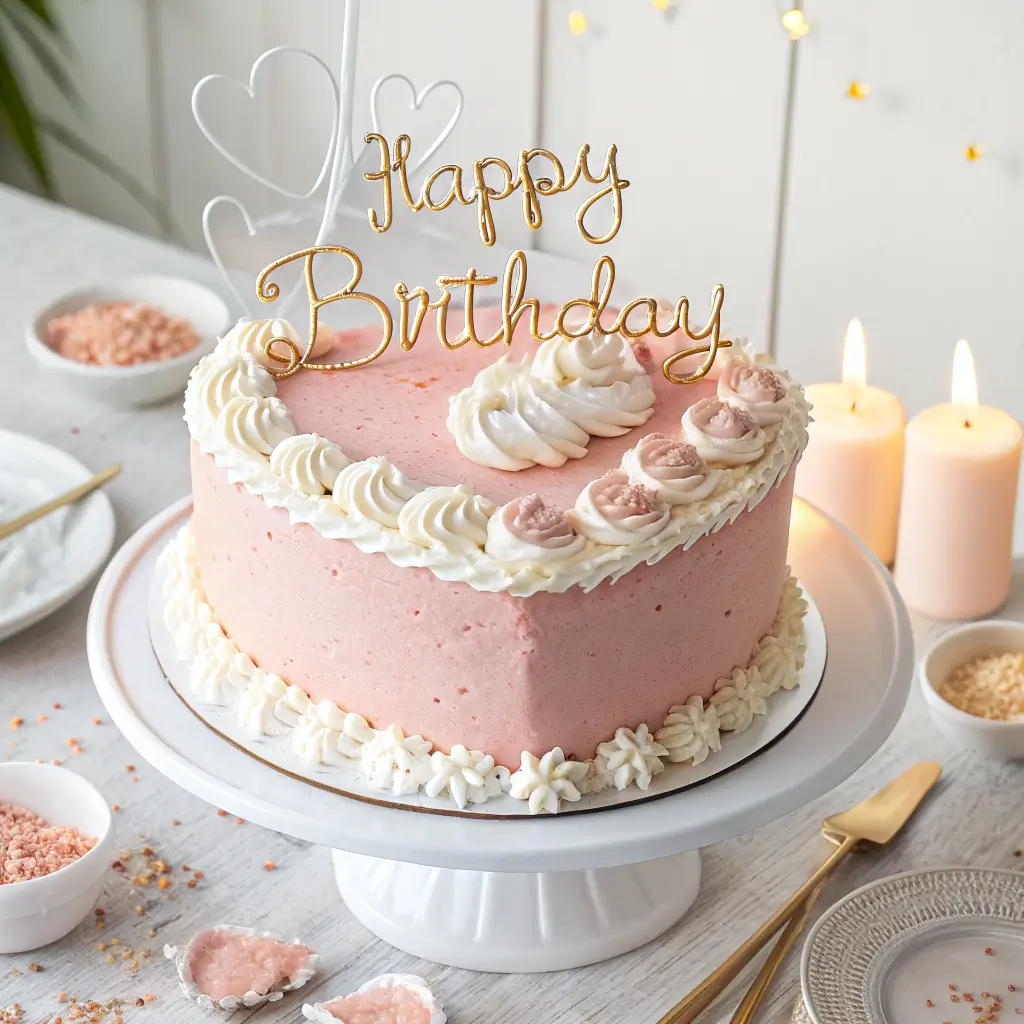
Best birthday cake heart shape Decorating Ideas
- Classic Valentine: Red or pink buttercream with white piped details
- Birthday Celebration: Colorful sprinkles and candles arranged around the heart shape
- Elegant Occasion: White-on-white with subtle pearl accents and buttercream rosettes
- Conversation Heart: Decorate with a sweet message on top like “Love You” or “Happy Birthday”
- Chocolate Lover’s Dream: Pair with chocolate ganache drip for a dramatic effect
- Vintage Heart Design: Rose buttercream piping with delicate lace details
Nutrition Information (Per Serving, Based on 10 Servings)
- Calories: Approximately 580
- Total Fat: 32g
- Saturated Fat: 20g
- Cholesterol: 135mg
- Sodium: 220mg
- Total Carbohydrates: 70g
- Dietary Fiber: 0g
- Sugars: 50g
- Protein: 5g
Note: Nutritional values are estimates and will vary based on specific ingredients and serving sizes.
Your birthday cake heart shape Success Stories
Did you try making this birthday cake heart shape birthday cake? We’d love to hear how it turned out! Leave a comment and rating below to share your experience.
Share your beautiful cake creations on Instagram and tag us @YourBakingBlog for a chance to be featured!
Explore More Cake Decorating Inspiration
Looking for more cake ideas? Check out these related resources:
- Ultimate Guide to Birthday Cake Designs
- 10 Creative Heart Cake Decorating Techniques
- Best Buttercream Frosting Recipes for Any Occasion
Looking for a show-stopping pink heart cake? Learn how to create our Classic Pink Heart Cake with professional-looking results.
Frequently Asked Questions About birthday cake heart shape
How do I make a heart-shaped cake?
You can make a heart shaped cake using either a specialized heart shaped pan or by combining a square cake and a round cake. For the latter method, place the square cake in a diamond position and attach half-circles from the round cake to two adjacent sides. Alternatively, you can trace a heart shape onto parchment paper, place it on top of a cooled sheet cake, and cut around the template to create your heart cake.
How many does a heart-shaped cake serve?
An 8-inch heart shaped cake typically serves 8-10 people with generous portions. For larger gatherings, you can make a 10-inch heart shaped cake which serves approximately 12-16 people. The exact serving count depends on how large you cut your slices and whether the cake has multiple layers.
How do you arrange cupcakes in a heart shape?
To arrange cupcakes in a heart shape, start by placing two cupcakes at the top slightly angled away from each other to create the top curves of the heart. Continue adding rows below, widening as you go to the middle point, then tapering down to a single cupcake at the bottom. Typically, about 18-24 cupcakes create a nice heart shape. Frost all cupcakes with the same color frosting to create a cohesive heart design.
What is the best way to cut a heart-shaped cake?
The best way to cut a birthday cake heart shape cake is to start by cutting straight down from the top center point to the bottom point, dividing the heart in half. Then, make parallel cuts on each side, about 1-2 inches apart, moving outward. This creates even slices while maintaining the heart shape integrity for as long as possible.
How to make a heart-shaped cake with foil?
To make a birthday cake heart shape with foil, fold a piece of heavy-duty aluminum foil into a thick strip about 2-3 inches wide and long enough to form your desired heart size. Shape this strip into a heart form and place it in the center of a round cake pan. Pour your cake batter around the foil shape, not inside it. When baked, you’ll have a heart-shaped cake with the center removed.
Does Dairy Queen do heart-shaped cakes?
Yes, Dairy Queen typically offers heart shaped ice cream cakes, especially around Valentine’s Day. These specialty cakes feature their signature ice cream and are available in various sizes. However, availability may vary by location, so it’s advisable to call your local Dairy Queen in advance to confirm and place an order.
How do you pipe hearts on a cake?
To pipe hearts on a cake, use a piping bag fitted with a round tip or a small star tip. Hold the bag at a 45-degree angle and pipe a “V” shape, then pull up and away in one smooth motion to create the top curves of the heart. Practice on parchment paper first before decorating your cake. For multiple hearts, maintain consistent pressure and movement for uniform shapes.
How do you cut a cake into shapes?
To cut a cake into shapes, ensure the cake is completely cooled or even slightly chilled for cleaner cuts. Create templates from parchment paper for your desired shapes. Place these templates on top of your cooled sheet cake and use a sharp knife to cut around them. For more intricate designs, freeze the cake for 30 minutes before cutting to minimize crumbling.
How do you line a heart shaped cake tin?
To line a heart shaped pan, start by tracing the bottom of the pan onto parchment paper. Cut out the heart shape, leaving a small margin around the edges. Grease the pan, place the parchment heart at the bottom, and grease the parchment as well. For the sides, cut strips of parchment about 2-3 inches high and line the interior walls of the pan, using the pan’s greased surface to help the paper stick.
How to make a heart shaped cake without a circle pan?
If you don’t have a circle pan but want to make a heart shaped cake, you can use a square pan alone. Bake your cake in the square pan, then once cooled, position it like a diamond. Cut a triangle from the top point to create the indentation at the top of the heart. Round the top edges with additional small cuts to create the curved top of the heart shape.
What is a vintage heart cake?
A vintage heart cake typically refers to a heart shaped cake decorated in a classic, nostalgic style. These designs often feature piped rosettes, pearls, lace patterns, and scalloped edges in soft, muted colors like ivory, pale pink, or light blue. Vintage heart cakes might incorporate elements like brush embroidery techniques or royal icing filigree for an antique, romantic appearance reminiscent of Victorian-era confections.
Discover how to create your own stunning Vintage Heart Cake with our comprehensive tutorial featuring traditional techniques and designs.
How do you pipe a cake for beginners?
For beginners learning to pipe a cake, start with basic techniques using a large round tip or star tip. Practice consistent pressure on a piece of parchment paper before working on your cake. Begin with simple borders around the top and bottom edges of your cake. Hold the piping bag at a 45-degree angle, about half an inch above the surface. Maintain even pressure as you pipe, releasing pressure before pulling away. Start with larger tips as they’re more forgiving, and work your way to more detailed decorations as you gain confidence.

Perfect Classic Vanilla Bean Heart Shaped Birthday Cake
Equipment
- 1 8-inch heart shaped pan (or one 8-inch round AND one 8-inch square pan)
- 1 Electric Mixer stand or handheld
- 2 mixing bowls large and medium
- 1 Set measuring cups and spoons
- 1 Silicone spatula
- 1 Wire cooling rack
- 1 Sheet parchment paper
- 1 Offset Spatula
- 1 Piping bag and tips optional, for decorating
- 1 Cake board optional
- 1 Sifter optional
Ingredients
For the Vanilla Bean Cake
- 2¾ cups 345g all-purpose flour sifted
- 1¾ cups 350g granulated sugar
- 2½ teaspoons baking powder
- ¾ teaspoon salt
- 1 cup 226g unsalted butter room temperature
- 4 large eggs room temperature
- 1 cup 240ml whole milk room temperature
- 2 teaspoons pure vanilla extract
- 1 vanilla bean pod scraped or 1 tablespoon vanilla bean paste, optional
For Classic Vanilla Buttercream Frosting
- 1½ cups 340g unsalted butter room temperature
- 6 cups 720g powdered sugar sifted
- 4 tablespoons heavy cream or milk
- 2 teaspoons vanilla extract
- ¼ teaspoon salt
- Food coloring optional pink or red for a festive heart theme
Instructions
- Preheat your oven to 350°F (175°C). Position the rack in the center of the oven for even heat distribution.
- Prepare your heart shaped pan by greasing the bottom and sides with butter or baking spray. Line the bottom with parchment paper, then dust the sides with flour, tapping out excess.
- In a medium bowl, whisk together the flour, baking powder, and salt until well combined and aerated.2¾ cups 345g all-purpose flour sifted, 2½ teaspoons baking powder, ¾ teaspoon salt
- Beat the room temperature butter in a large bowl using your electric mixer on medium speed until smooth and creamy, about 1 minute.1 cup 226g unsalted butter room temperature
- Gradually add the sugar to the butter, about ¼ cup at a time, beating continuously on medium-high speed for 3-4 minutes until pale and fluffy. Scrape down the sides of the bowl periodically.1¾ cups 350g granulated sugar, 1½ cups 340g unsalted butter room temperature
- If using vanilla bean, add the freshly scraped seeds to the butter-sugar mixture and beat briefly to incorporate.1 vanilla bean pod scraped
- Add eggs one at a time, beating well after each addition until just combined. Scrape down the bowl after each egg.4 large eggs room temperature
- Beat in the vanilla extract until just combined.2 teaspoons pure vanilla extract
- Reduce mixer speed to low. Add approximately one-third of the dry ingredient mixture and mix until just combined.
- Add half the milk and mix until just combined.1 cup 240ml whole milk room temperature
- Continue alternating by adding another third of the dry ingredients, the remaining milk, and finally the last portion of dry ingredients. Mix only until no large streaks of flour remain visible.4 tablespoons heavy cream or milk
- Pour the batter evenly into your prepared heart shaped pan. If using the round and square pans for cutting method, divide the batter equally between them. Use your spatula to smooth the top gently.
- Bake for 30-35 minutes, or until a wooden skewer inserted into the center comes out clean or with just a few moist crumbs attached.
- Allow the cake to cool in the pan placed on a wire rack for 10-15 minutes.
- Carefully invert the cake onto the wire rack, remove the pan, peel off the parchment paper, and allow it to cool completely before frosting or shaping (1-2 hours).
- For the buttercream, beat room temperature butter until creamy and pale (about 3 minutes).
- Gradually add sifted powdered sugar, one cup at a time, beating well after each addition.6 cups 720g powdered sugar sifted
- Add vanilla extract, salt, and cream gradually until you reach your desired consistency. Add food coloring if using.4 tablespoons heavy cream or milk, 2 teaspoons vanilla extract, ¼ teaspoon salt, Food coloring optional
- For a layer cake, cut your cooled heart cake horizontally into two or three layers using a long serrated knife.
- Place the first cake layer on your cake board or serving plate and apply a layer of buttercream to the top, spreading it evenly with an offset spatula.
- Add the next cake layer and repeat until all layers are stacked.
- Apply a thin crumb coat of frosting over the entire cake and chill for 15-30 minutes to set.
- Apply the final layer of frosting, creating your desired finish (smooth, textured, or piped designs).
- Decorate the top of the heart with additional piping, sprinkles, or fresh flowers for a stunning presentation.

Notes
- Room temperature ingredients are crucial for this recipe to create the perfect emulsion that leads to a velvety cake texture.
- Measure flour using the spoon and level method or ideally weigh it with a digital scale for precision.
- Don’t rush the creaming process – the butter-sugar mixture should be noticeably lighter in both color and texture.
- For a heart-shaped cake without a special pan: Bake one 8-inch round cake and one 8-inch square cake. Place the square cake like a diamond and attach half-circles from the round cake to two adjacent sides.
- Unfrosted cake layers can be stored well-wrapped at room temperature for up to 2 days or frozen for up to 2 months.
- Frosted cakes should be stored in an airtight container at room temperature for 1-2 days or refrigerated for 3-4 days.
- When refrigerating, allow the cake to come to room temperature for 30 minutes before serving for the best flavor and texture.