
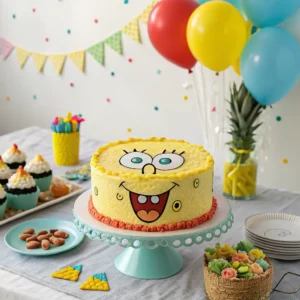
The Ultimate Guide to Creating a Perfect Round SpongeBob Cake: Easy Tutorial & Creative Ideas
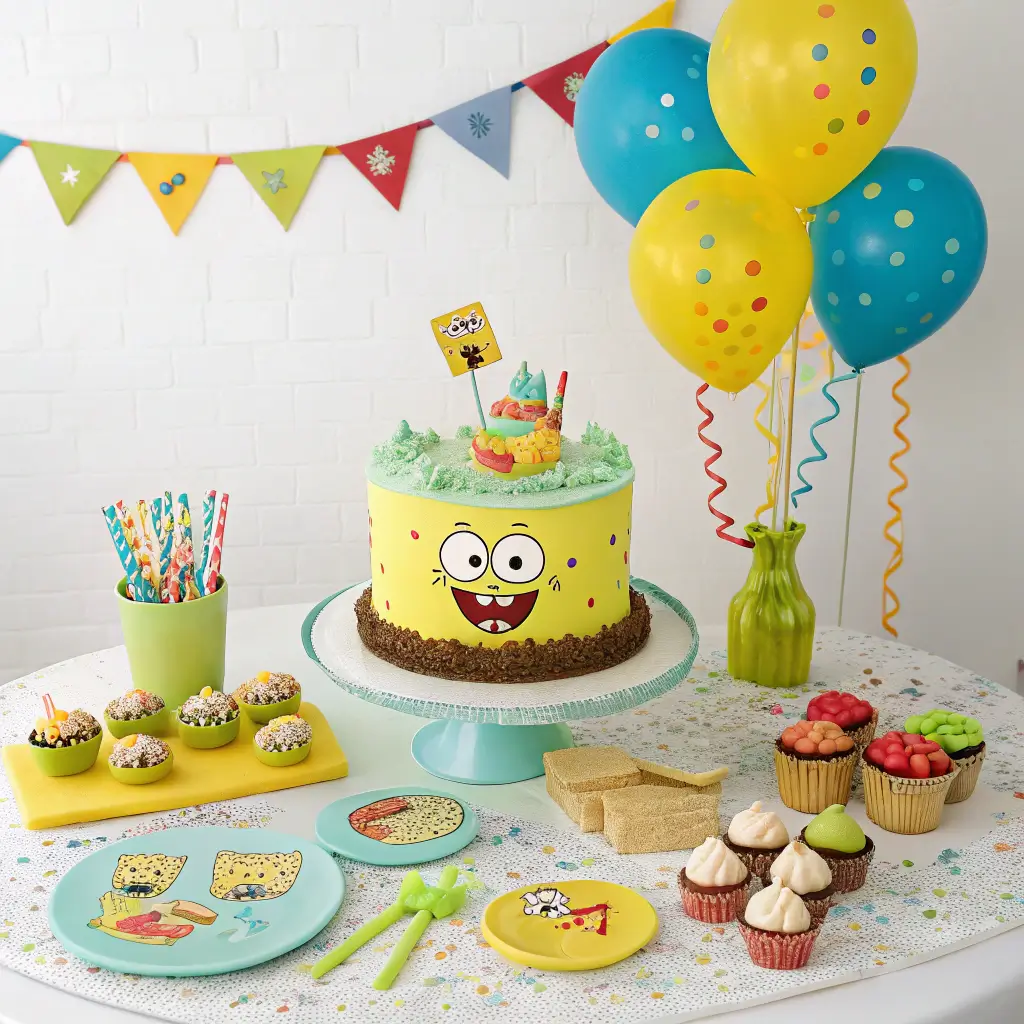
Are you looking for a showstopping birthday cake that will delight SpongeBob fans of all ages? Look no further! In this comprehensive round SpongeBob cake tutorial, I’ll walk you through three different methods to create an adorable SpongeBob Squarepants cake that will be the highlight of any celebration. From beginner-friendly buttercream designs to more advanced fondant decorations, you’ll find the perfect approach based on your skill level and available time.
Why Choose a Round SpongeBob Cake for Your Next Celebration?
SpongeBob SquarePants has been bringing joy and laughter to children and adults alike since 1999. Furthermore, this beloved yellow character with his infectious laugh and optimistic personality makes for an ideal cake design that instantly brightens any dessert table. Although SpongeBob is traditionally portrayed as rectangular in the show, transforming him into a round cake creates a charming, simplified version that captures his essence while being much easier to execute.
Additionally, a round SpongeBob cake offers several practical advantages. For instance, round cake pans are standard kitchen equipment that most bakers already own. Moreover, the circular shape provides an excellent canvas for SpongeBob’s expressive face, allowing you to focus on his most recognizable features. As a result, even novice bakers can achieve impressive results with basic decorating skills.
In this tutorial, I’ll share three different approaches to creating a round SpongeBob cake:
- Beginner-Friendly Buttercream Design – Perfect for first-time decorators using simple piping techniques
- Intermediate Fondant Decoration – For those ready to take their cake decorating skills to the next level
- Quick Solution with Edible Image Topper – Ideal for time-pressed bakers who still want an impressive result
Let’s dive into the wonderful world of underwater cake decorating!
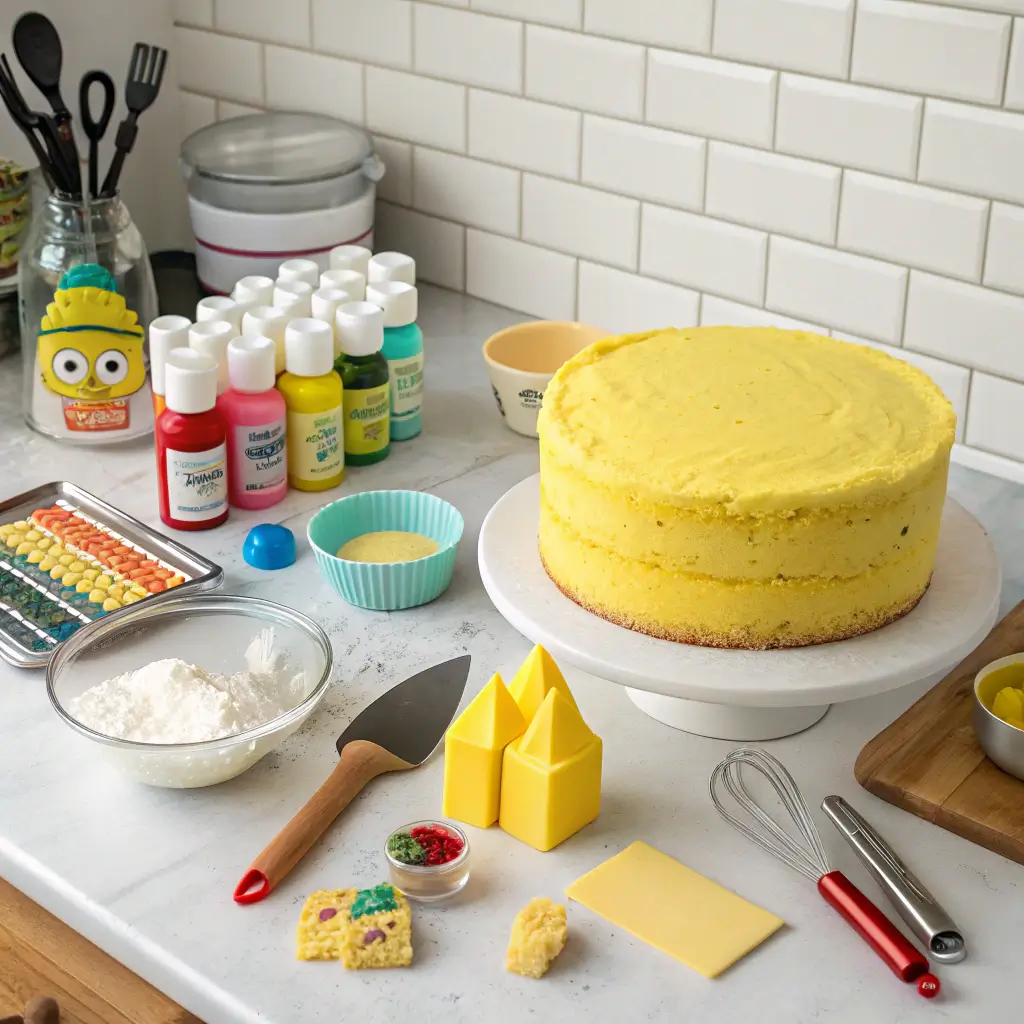
Essential Ingredients & Tools for SpongeBob Cake Success
Before we begin our round SpongeBob cake tutorial, gathering the right supplies will ensure a smooth decorating process. Therefore, I’ve compiled a comprehensive list of ingredients and tools you’ll need, depending on which method you choose.
Basic Cake Ingredients Every Baker Needs
For the foundation of your SpongeBob cake, you’ll need:
| Ingredient | Beginner Method | Intermediate Method | Quick Method |
|---|---|---|---|
| Yellow/Vanilla Cake Mix or Ingredients | ✓ | ✓ | ✓ |
| Butter | 1-3 cups | 1-3 cups | 1-2 cups |
| Powdered Sugar | 4-8 cups | 4-8 cups | 4-6 cups |
| Vanilla Extract | 1-4 tsp | 1-4 tsp | 1-2 tsp |
| Food Coloring (Yellow, Black, Blue, Red, Pink) | ✓ | ✓ | Optional |
| Fondant (Various Colors) | Not needed | 1-1.5 lbs | Not needed |
| Edible Image Topper | Not needed | Not needed | ✓ |
Essential Tools for Decorating Your Round SpongeBob Cake
Additionally, you’ll want to have these tools on hand:
- Two 8-inch round cake pans
- Mixer (stand or handheld)
- Mixing bowls for batter and frosting
- Offset spatula for smooth frosting application
- Piping bags and various tips (small round #2-3, medium round #10-12)
- Cake turntable (highly recommended for easier decorating)
- Leveler or serrated knife for creating even cake layers
For the fondant method, you’ll also need:
- Rolling pin specifically for fondant
- Circle cutters in various sizes
- Fondant smoother
- Small food-safe paintbrush
- Craft knife or fondant cutting tools
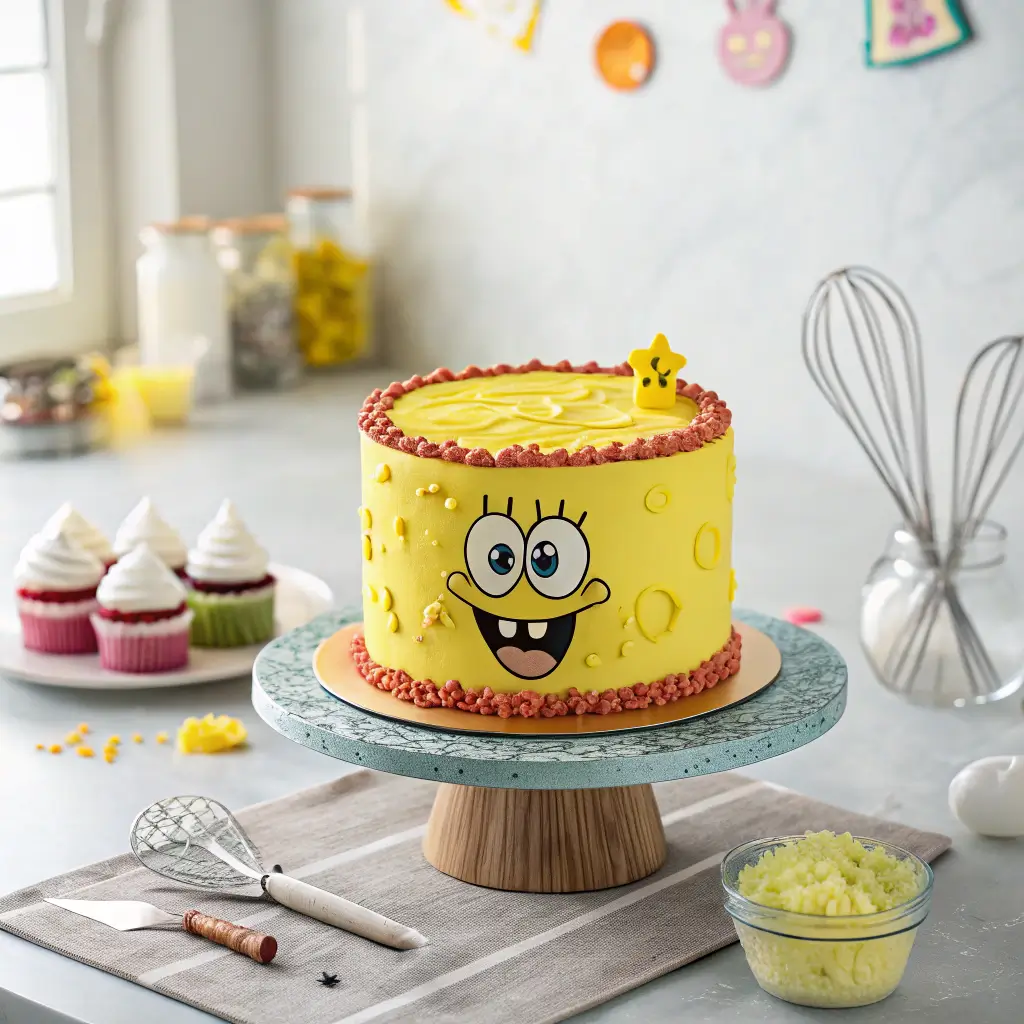
Beginner-Friendly Buttercream SpongeBob Cake Tutorial: Step-by-Step Instructions
This first method is perfect for those new to cake decorating. Using buttercream frosting and simple piping techniques, you can create an adorable round SpongeBob cake that will impress everyone at your celebration.
Baking the Perfect Base for Your SpongeBob Cake
First, let’s prepare the cake layers:
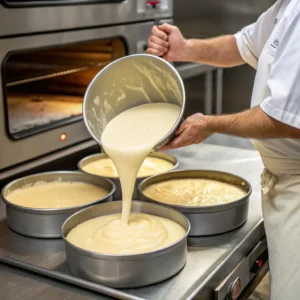
- Preheat your oven to 350°F (175°C) and prepare two 8-inch round cake pans by greasing them thoroughly and lining the bottoms with parchment paper.
- Mix your cake batter following your favorite yellow or vanilla cake recipe. Alternatively, use a boxed cake mix for convenience. The yellow color provides an excellent base for our SpongeBob theme.
- Divide the batter evenly between the two pans and bake until a toothpick inserted into the center comes out clean, typically 30-40 minutes depending on your recipe.
- Allow the cakes to cool in the pans for 10-15 minutes before inverting onto a wire rack to cool completely. This cooling step is crucial, as attempting to frost a warm cake will cause the frosting to melt and ruin your design.
Creating the Perfect Buttercream for Decorating
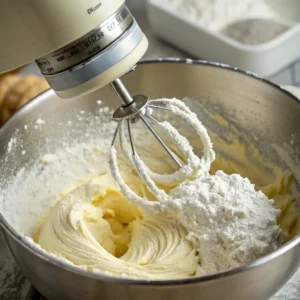
While your cakes cool, prepare a batch of American buttercream:
- In your mixer, beat 2 cups of softened butter until fluffy.
- Gradually add 6-7 cups of powdered sugar, mixing on low speed to avoid a sugar cloud.
- Add 2 teaspoons of vanilla extract and 2-3 tablespoons of milk or cream to achieve a smooth, pipeable consistency.
- Mix on medium-high speed for 5-7 minutes until light and fluffy.
Assembling and Crumb Coating Your Cake
Once your cakes have completely cooled:
- Level the tops of both cake layers using a cake leveler or serrated knife to create flat surfaces.
- Place one layer on your cake board or serving plate. For easier decorating, position it on a cake turntable if available.
- Spread about 1 cup of buttercream evenly on top of the first layer.
- Position the second layer on top, ensuring it’s aligned with the bottom layer.
- Apply a thin layer of buttercream over the entire cake to seal in crumbs. This “crumb coat” doesn’t need to be perfect as it’s just a base layer.
- Chill the crumb-coated cake in the refrigerator for 30 minutes until the buttercream is firm.
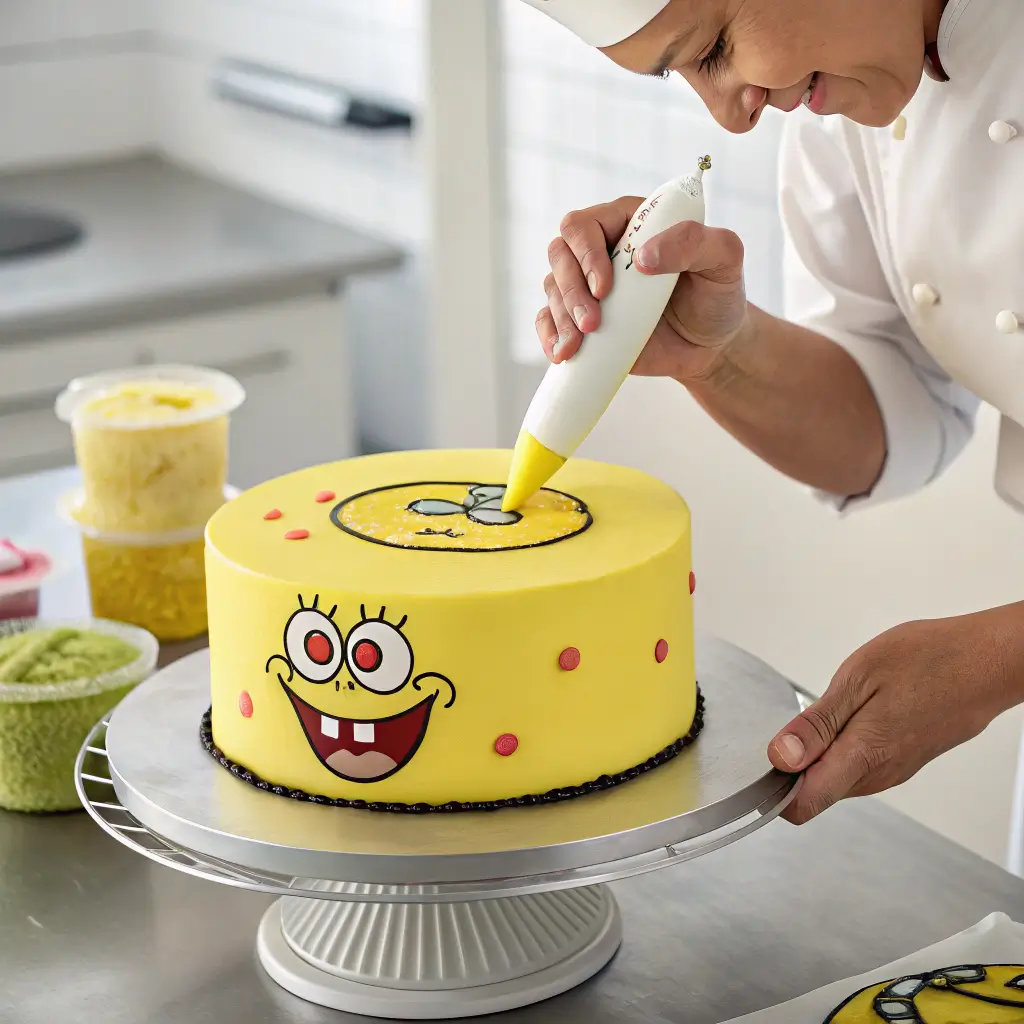
Decorating Your SpongeBob Buttercream Cake
Now for the fun part—transforming your cake into SpongeBob:
- Separate your remaining buttercream into several bowls for coloring:
- The largest portion (about 3 cups) will be colored bright yellow for SpongeBob’s face
- Smaller portions (about 1/2 cup each) will be colored black, white, red, blue, and pink
- Using gel food coloring, tint each portion to the appropriate shade. Yellow fondant for SpongeBob should be vibrant but not neon.
- Frost the entire cake with the yellow buttercream, creating a smooth surface. Use your offset spatula and turntable for best results. Chill again for 15-20 minutes.
- Using a toothpick, lightly sketch SpongeBob’s facial features onto the yellow frosting:
- Two large round eyes near the top half
- A long, narrow nose in the center
- A wide smile with two square teeth
- Three freckles on each cheek
- A shirt collar and tie at the bottom edge
- Fill a piping bag fitted with a small round tip with black buttercream. Pipe the outlines of all features: eyes, pupils, eyelashes, nose, mouth, and freckles.
- Fill another piping bag with white buttercream and a medium round tip. Fill in the whites of the eyes and the two teeth.
- Use blue buttercream to fill in the irises, red for the tie, and pink for the tongue.
- Pipe SpongeBob’s signature freckles and add small “pore” dots randomly across the yellow face to replicate his spongy texture.
- Optional: Add a simple shell border around the base of the cake using the remaining yellow buttercream.
- Chill the completed cake for at least 30 minutes before serving to allow the decorations to set.
Intermediate SpongeBob Cake with Fondant Details: Taking Your Skills to the Next Level
For bakers ready to tackle more advanced decorating techniques, this fondant method creates a polished, professional-looking round SpongeBob cake with cleaner lines and smoother features.
Preparing Your Work Surface for Fondant Decoration
After baking, cooling, filling, and frosting your cake with a smooth yellow buttercream base (following steps 1-7 of the beginner method), you’re ready to work with fondant:
- Clear a large, clean flat surface for rolling out fondant.
- Lightly grease your hands with shortening to prevent sticking.
- Dust your work surface with a small amount of cornstarch or powdered sugar.
Creating SpongeBob’s Facial Features with Fondant
Now let’s prepare the fondant elements:
- If using white fondant, divide it into portions and color each with appropriate gel food colors. Knead thoroughly until the color is uniform.
- For SpongeBob’s eyes:
- Roll out white fondant to approximately 1/8 inch thickness.
- Using a round cutter or cup, cut two 2-inch circles for the eye whites.
- Roll out blue fondant and cut two 1-inch circles for the irises.
- Roll out black fondant and cut two small 1/2-inch circles for the pupils.
- Layer these pieces: place blue circles on white circles, then black pupils on blue irises.
- For the mouth, nose, and other details:
- Roll yellow fondant for the nose into an elongated rectangle shape.
- Cut a curved line of black fondant for the mouth outline.
- Create two small white squares for teeth.
- Shape a small piece of pink fondant into a tongue.
- Cut thin black strips for eyelashes.
- For SpongeBob’s collar and accessories:
- Cut two small white triangles for the shirt collar.
- Shape red fondant into a small tie.
- Roll out blue fondant for the pants section along the bottom edge of the cake.
Applying Fondant Elements to Your Cake
With all pieces prepared, it’s time to assemble:
- Retrieve your chilled yellow-frosted cake.
- Using a small food-safe paintbrush, apply a tiny amount of water or edible glue to the back of each fondant piece before positioning it on the cake.
- Start with the large elements—eyes, nose, and mouth—placing them carefully according to SpongeBob’s facial proportions.
- Add the smaller details: eyelashes, teeth, tongue, freckles, collar, and tie.
- For extra definition, use a black edible marker to add fine details like freckles and pores.
- Chill the completed cake for at least 30 minutes before serving to allow the fondant to set firmly onto the buttercream.
Quick SpongeBob Cake with Edible Image Topper: The Time-Saving Solution
For those occasions when time is limited but you still want an impressive SpongeBob cake, this method using an edible image topper is your best friend.
Preparing Your Cake for an Edible Image
- Bake and cool your cake layers as described in the beginner method.
- Fill and frost the cake with smooth buttercream—yellow complements the SpongeBob theme, but white or light blue also work well.
- The top surface should be as smooth as possible to ensure proper adhesion of the edible image.
Applying the SpongeBob Edible Image Topper
- Purchase a pre-made round SpongeBob edible cake topper that matches your cake size (typically 7.5-inch topper for an 8-inch cake).
- Just before applying, carefully remove the edible image from its backing sheet according to the package instructions.
- Center the image on top of your freshly frosted cake.
- Gently smooth the topper from the center outward using clean, dry hands or a fondant smoother to eliminate air bubbles.
- For a finished look, pipe a decorative border around the edge of the topper using buttercream with a star tip.
- Optional: Add coordinating yellow and blue sprinkles around the border for extra flair.
- Chill briefly for 15-30 minutes before serving.
Learn more about working with round cakes in our comprehensive Round Cake Techniques for Perfect Layer Cakes.
Helpful Tips for SpongeBob Cake Success
To ensure your round SpongeBob cake turns out perfectly, consider these expert tips:
- Work with chilled cake: A properly chilled cake is much easier to frost smoothly and decorate. However, don’t attempt to apply fondant to a frozen cake as condensation will form and make the fondant sticky.
- Get the right yellow: SpongeBob’s iconic color is a bright, slightly golden yellow. Mix your yellow food coloring with a tiny touch of orange or brown if needed to achieve the perfect shade.
- Make features proportional: SpongeBob’s eyes take up a significant portion of his face—approximately 1/3 of the cake’s surface. Making the eyes too small is a common mistake.
- Use templates: If you’re nervous about freehand drawing, print a simple SpongeBob face template and use it as a guide for placement of features.
- Prepare extra buttercream: It’s always better to have too much frosting than too little. Leftover buttercream can be frozen for future baking projects.
- Plan ahead: Fondant decorations can be made 1-2 days in advance and stored in an airtight container until needed.
Creative SpongeBob Cake Ideas for Special Occasions
Want to take your round SpongeBob cake to the next level? Try these creative variations:
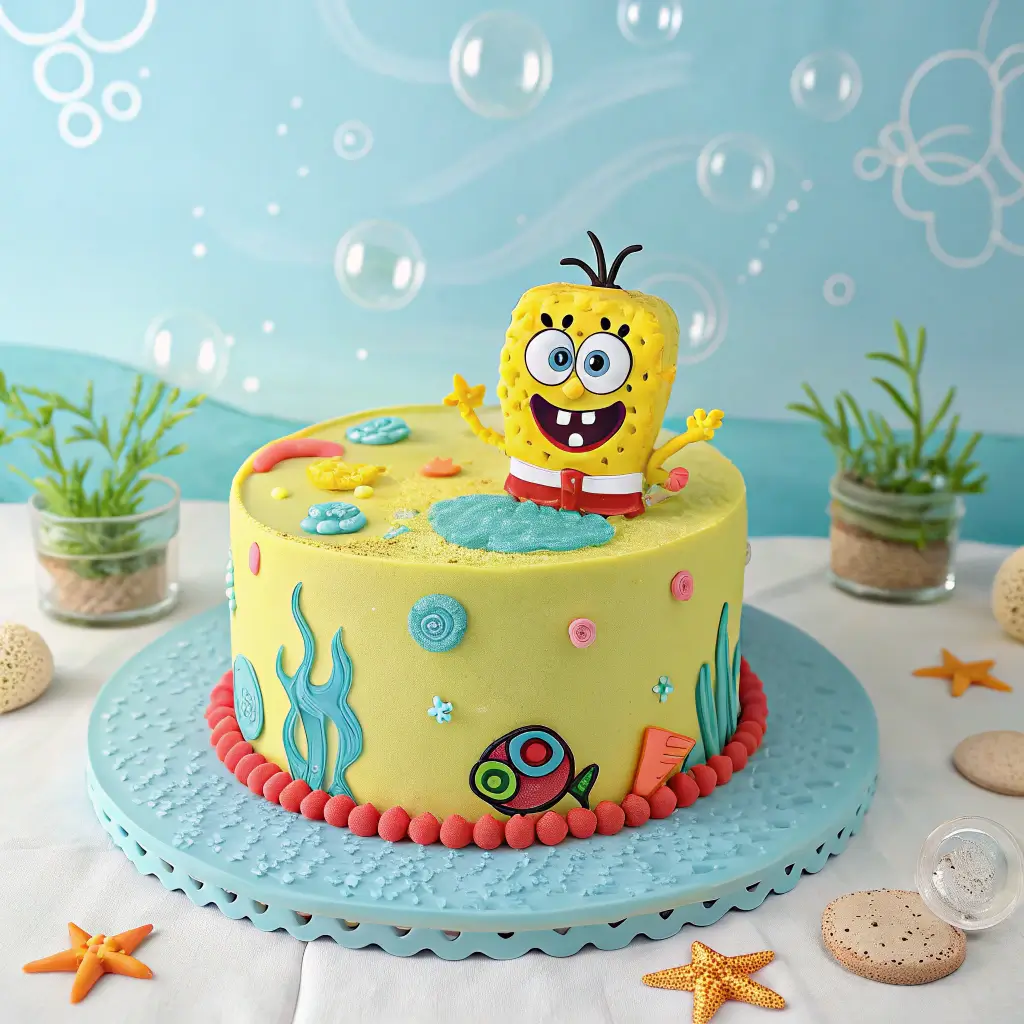
- SpongeBob and Patrick Duo: Create a smaller companion cake shaped like Patrick Star to display alongside your SpongeBob cake.
- Underwater Scene: Surround your SpongeBob cake with blue buttercream “water” and add fondant seaweed, jellyfish, and perhaps a tiny pineapple house on the cake board.
- Krabby Patty Cake: Layer chocolate and vanilla cake to resemble a burger when cut, then decorate the outside as SpongeBob.
- Gluten-Free Option: Substitute regular flour with a gluten-free all-purpose flour blend in equal amounts for those with dietary restrictions.
- Cupcake Alternative: Apply the same decorating techniques to cupcakes, creating a SpongeBob cupcake cake or individual SpongeBob cupcakes.
For another colorful character cake using a round base, see our Easy Round Unicorn Cake with Rainbow Layers
Round SpongeBob Cake FAQs: Your Common Questions Answered
How many does a 12 inch round cake feed?
A 12-inch round cake typically serves 40-56 people, depending on how you slice it. For celebration cakes like a round SpongeBob cake, plan for 40 servings from a single 12-inch round cake layer. If using a double-layer cake, you can serve up to 56 people with moderately sized pieces.
How much do people charge for birthday cake?
Professional bakers typically charge between $3.50-$7.00 per serving for custom birthday cakes like a SpongeBob cake. Therefore, a cake serving 12-16 people might cost $42-$112 depending on complexity. Fondant decoration generally costs more than buttercream. DIY SpongeBob cakes using our tutorial will cost approximately $15-$30 in ingredients, saving you significantly.
How much is a small cake?
A small cake, such as a 6-inch round cake that serves 8-10 people, typically costs $25-$45 from a bakery. Creating your own small round SpongeBob cake using our recipe would cost approximately $12-$20 in ingredients, plus decorating supplies if you don’t already have them.
What is the cake in the SpongeBob show?
In the SpongeBob SquarePants show, cakes appear in several episodes, but there isn’t one specific “SpongeBob cake.” However, the Krabby Patty birthday cake from “SpongeBob Meets the Strangler” and the cake from “Squid’s Day Off” are memorable examples. These cakes in the show are typically round with colorful frosting, inspiring our round SpongeBob cake design.
What size round cake will feed 40 people?
To feed 40 people, you’ll need a 12-inch round cake with two layers. Alternatively, you could serve a 14-inch single-layer round cake. For SpongeBob-themed parties with many children, consider supplementing with cupcakes decorated with SpongeBob colors or small character toppers.
How to cut a 12 inch round cake?
For a 12-inch round SpongeBob cake, the most efficient cutting method is:
- Cut a 4-inch circle in the center
- Slice this inner circle into 8 wedges
- Cut the outer ring into 32 slices by first dividing it into quarters, then each quarter into 8 slices This yields 40 similarly sized pieces suitable for a birthday party.
Why is SpongeBob a sponge?
Creator Stephen Hillenburg was originally a marine science educator and wanted to create a show featuring marine life. He chose a sea sponge as the main character but gave him a square shape (unlike real sea sponges) because he thought the kitchen sponge shape was more visually appealing and humorous. Our round SpongeBob cake adapts this square character into a round format that’s easier to create with standard baking equipment.
Are Krabby Patties crab cakes?
Despite ongoing fan theories, Krabby Patties are not officially crab cakes in the show. The secret formula remains unknown, but it’s confirmed they don’t contain crab meat. Creator Stephen Hillenburg stated they’re vegetarian. For a SpongeBob-themed party, you could serve slider-sized burgers alongside your round SpongeBob cake as “Krabby Patties.”
What is the witches cake?
“Witch cake” refers to a historical cake made with rye meal and the urine of afflicted girls during the Salem Witch Trials, believed to reveal witchcraft when fed to dogs. This has no connection to SpongeBob cakes—our round SpongeBob cake tutorial is purely for celebratory purposes and contains only delicious, conventional cake ingredients!
What is SpongeBob’s full name?
SpongeBob’s full name is SpongeBob SquarePants. In the show, he’s occasionally referred to as “SpongeBob SquarePants” formally, such as when receiving awards or in official documents. This iconic name inspired our round SpongeBob cake design, focusing on his instantly recognizable face rather than his full rectangular body.
Why is SpongeBob yellow?
SpongeBob is yellow because creator Stephen Hillenburg wanted him to resemble a kitchen sponge, which are traditionally yellow. This bright color makes SpongeBob visually distinctive and cheerful. Our round SpongeBob cake tutorial emphasizes this signature yellow color in both the buttercream and fondant versions.
What is SpongeBob’s age?
According to the show, SpongeBob is perpetually 26 years old. Despite his childlike personality, he’s an adult with a job and his own home. This makes SpongeBob an appealing cake character for both children’s and adult’s birthday celebrations, transcending age groups just like the show itself.
Conclusion: Your Round SpongeBob Cake Journey
Creating a round SpongeBob cake is not only a fun baking project but also guarantees smiles and excitement at any celebration. Whether you choose the beginner-friendly buttercream method, tackle the intermediate fondant decoration, or opt for the quick edible image approach, you now have all the tips, tricks, and instructions needed for SpongeBob cake success.
Remember that perfection isn’t necessary—SpongeBob’s goofy, slightly imperfect character actually benefits from a handmade touch. The most important ingredient is the love and effort you put into creating this special dessert for your celebration.
Have you created a round SpongeBob cake using this tutorial? We’d love to see your creations! Share your photos in the comments section below, or tag us on social media with #SpongeBobCake.
Happy baking and decorating!
Round SpongeBob Cake
Equipment
- 2 8-inch round cake pans Greased & lined with parchment paper
- 1 Mixer Stand or handheld for batter & frosting
- 3 mixing bowls For cake batter, frosting, and fondant
- 1 Offset Spatula For smooth frosting application
- 1 Cake turntable Recommended for easier decorating
- 1 Leveler or serrated knife For leveling cake layers
- 1 Piping bag set For decorative piping
- 1 Fondant toolkit Rolling pin, cutters, smoother if using fondant
Ingredients
Cake Batter:
- 1 box Yellow/Vanilla Cake Mix For two 8-inch layers
- 3 Eggs As per box instructions
- Ingredients for water oil, etc. (According to box instructions)
Buttercream Frosting:
- 2 cups Unsalted Butter Softened
- 6 cups Powdered Sugar Sifted
- 2 tsp Vanilla Extract Pure
- 3 tbsp Milk Whole or as needed
- Food Coloring Yellow, Black, Blue, Red, Pink as required
Optional Fondant Elements:
- 1 lb Fondant Various colors for advanced decoration
- Gel Food Coloring As needed for tinting
Instructions
- Preheat oven to 350°F and prepare two 8-inch cake pans by greasing and lining with parchment paper.1 box Yellow/Vanilla Cake Mix, 3 Eggs, Ingredients for water
- Mix cake batter according to instructions, divide evenly between pans, and bake for 30-40 minutes until a toothpick comes out clean.1 box Yellow/Vanilla Cake Mix, 3 Eggs, Ingredients for water
- Cool cakes for 10-15 minutes in pans, then invert onto a wire rack and level tops using a serrated knife.
- Prepare buttercream frosting by beating 2 cups softened butter, gradually adding 6 cups powdered sugar, then mixing in 2 tsp vanilla extract and 3 tbsp milk until light and fluffy.2 cups Unsalted Butter, 6 cups Powdered Sugar, 2 tsp Vanilla Extract, 3 tbsp Milk, Food Coloring

- Assemble the cake by placing one level cake layer on a board, spreading a cup of buttercream, stacking the second layer, and applying a crumb coat. Chill for 30 minutes.

- Decorate the cake by piping SpongeBob’s facial features with colored buttercream. Optionally, add fondant details for a more polished look.Gel Food Coloring, 1 lb Fondant
Notes
- Ensure cakes are completely cooled before frosting to prevent melting.
- Use a cake turntable for smoother decorating.
- Adjust food coloring amounts for the perfect SpongeBob yellow.
- Fondant decorations can be prepared 1-2 days in advance.